
Set up the point of sale
This chapter sets up a cash register: its posting groups and journals, its devices (receipt printer, document printer, customer display) and its sounds. It also covers copying a register and retiring a register that is no longer used.
Before you start
- You are signed in as the user who runs the Business Central setup. The Base Setup Wizard only runs for a user with the SUPER permission set or the app's All permission set; anyone else gets an "Insufficient Permissions" page.
- The counter's location exists: on Locations, HAUPT.
- The posting groups the register posts with exist: on Business Posting Groups and VAT Posting Groups, for example INLAND.
- The journals the register posts through exist: a general journal template and batch (in General Journals), and an item and a resource journal batch (in Item Journals and Resource Journals).
- The salespeople who sell at the till exist in Salespeople/Purchasers.
- If you group registers by kind of store, fill the store types first: on Store Type (role center Setup group), enter a Code and a Description per type.
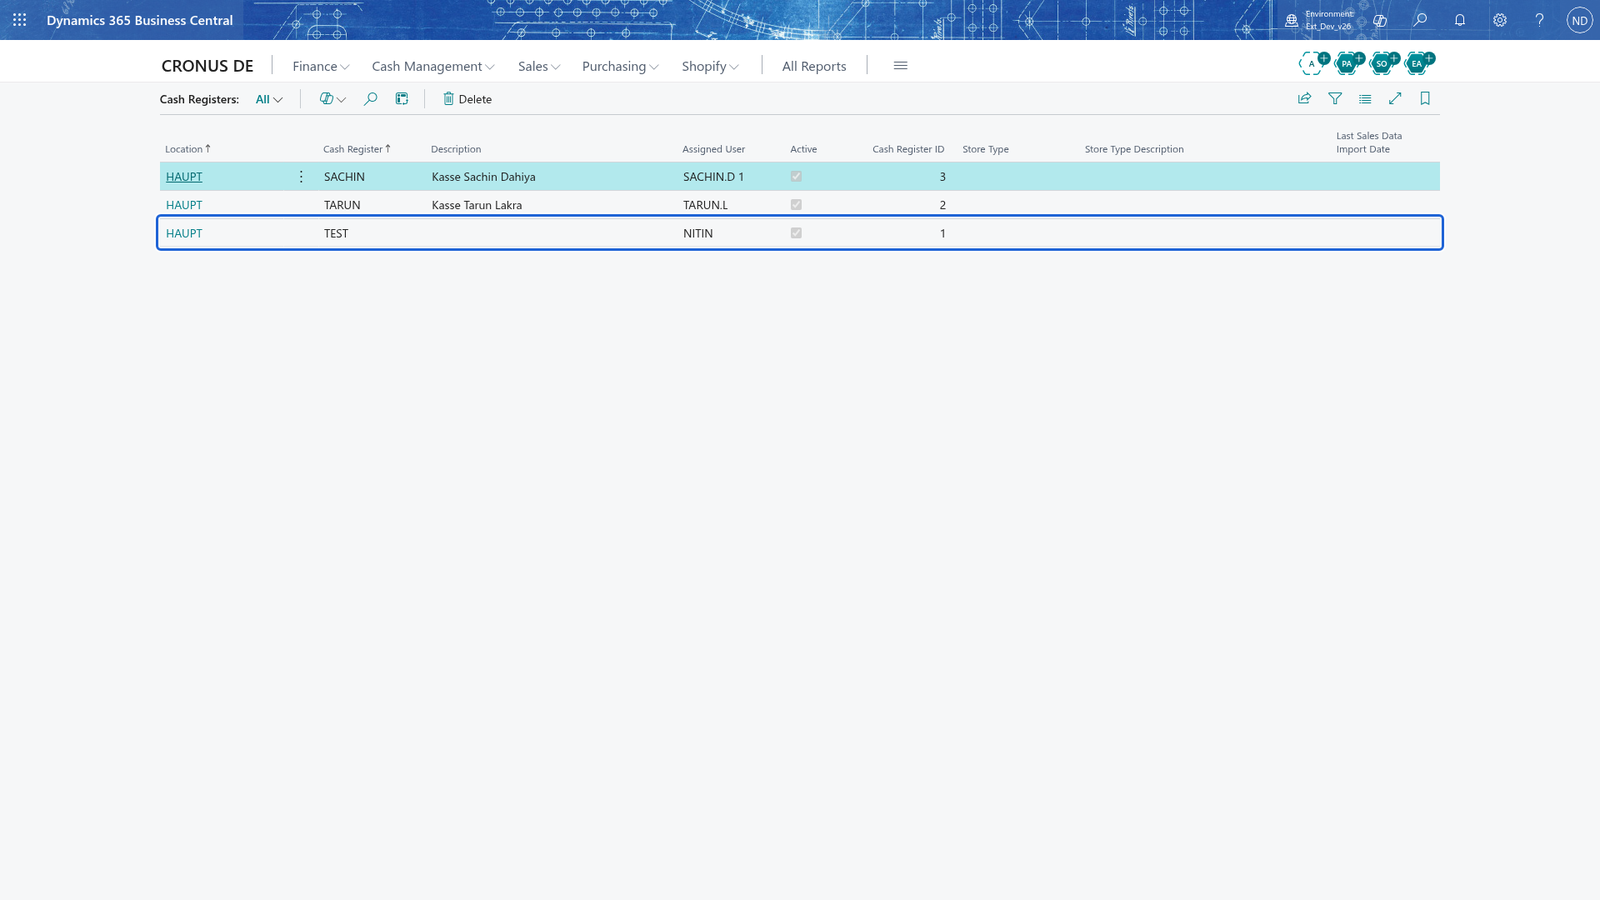
- The counter register exists as one cash register setup per Location + Cash Register; the Base Setup Wizard creates it, or you copy an existing register: the Cash Registers list then shows it.
Open the POS role center
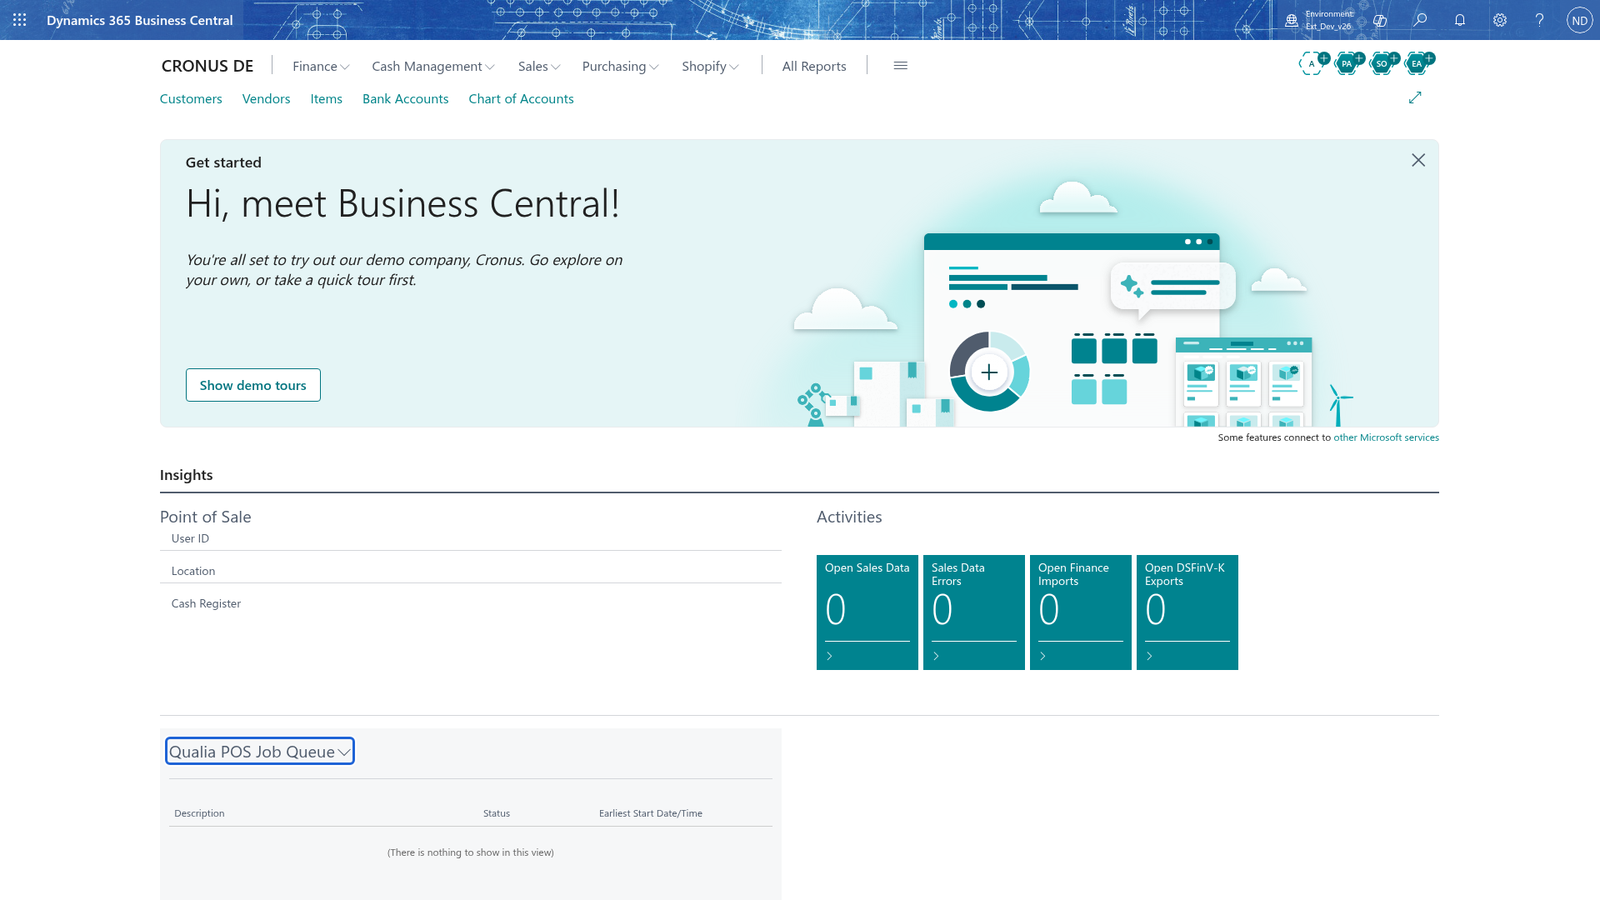
- Search for POS Role Center and open it.
- It lists the cash registers you may use and links to the setup areas. The Setup group on the menu bar holds the links you use in this chapter: Cash Register Setup, Device, Sound, Base and Store Type.
Run the Base Setup Wizard
- Open the Base Setup Wizard (search for Base Setup Wizard); while no cash register setup exists it is also offered on the role center.
- On Welcome to QUALIA POS Setup, choose Next.
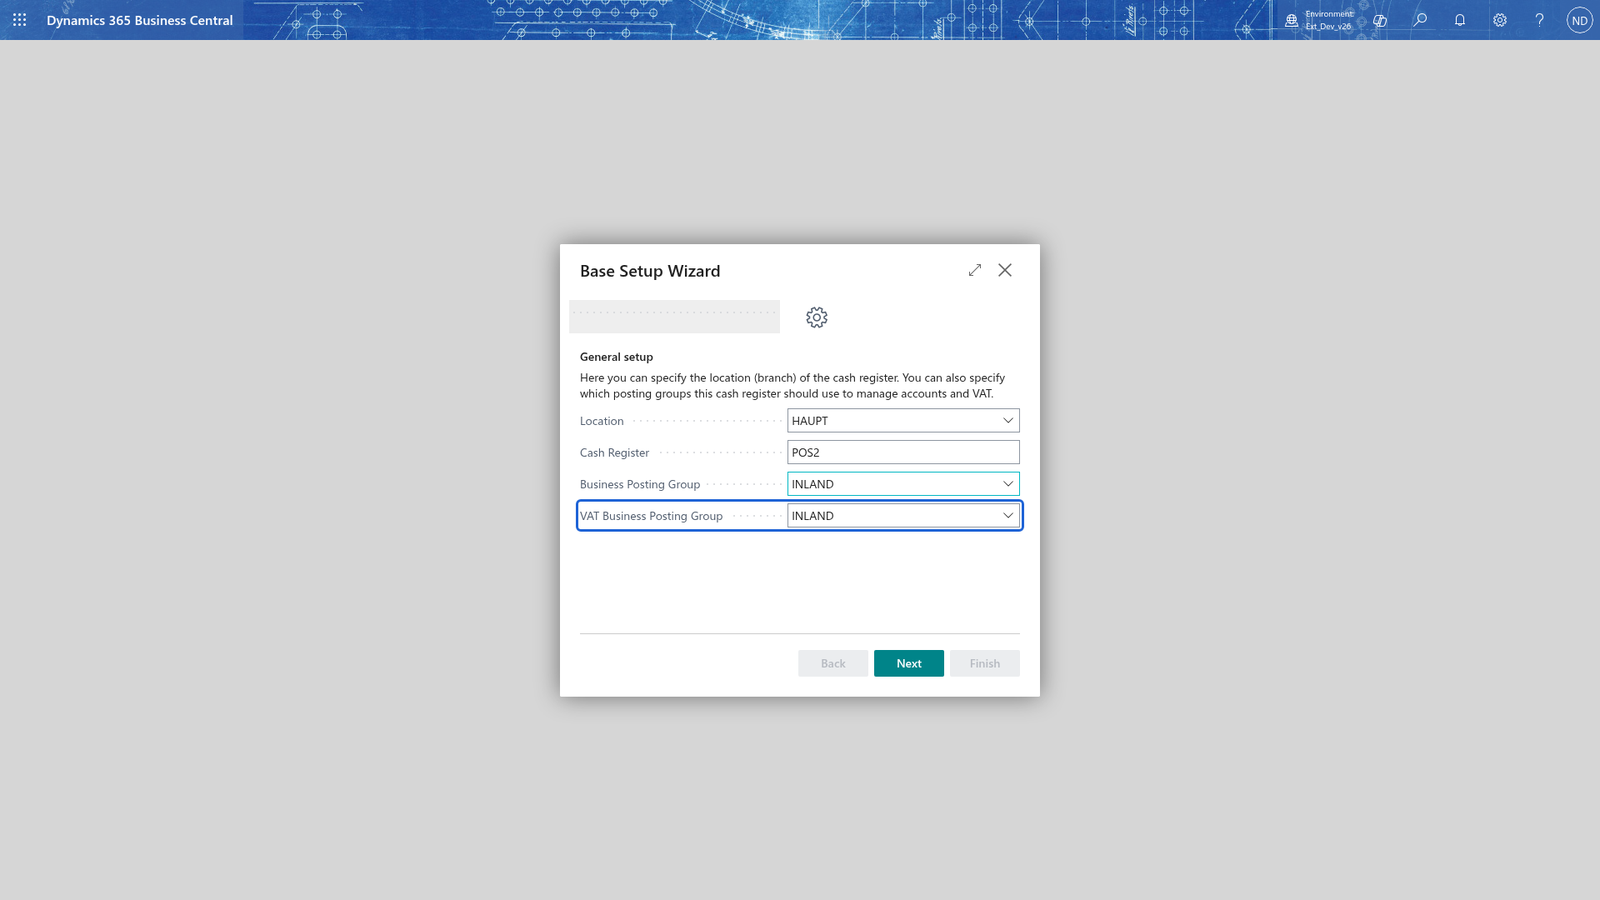
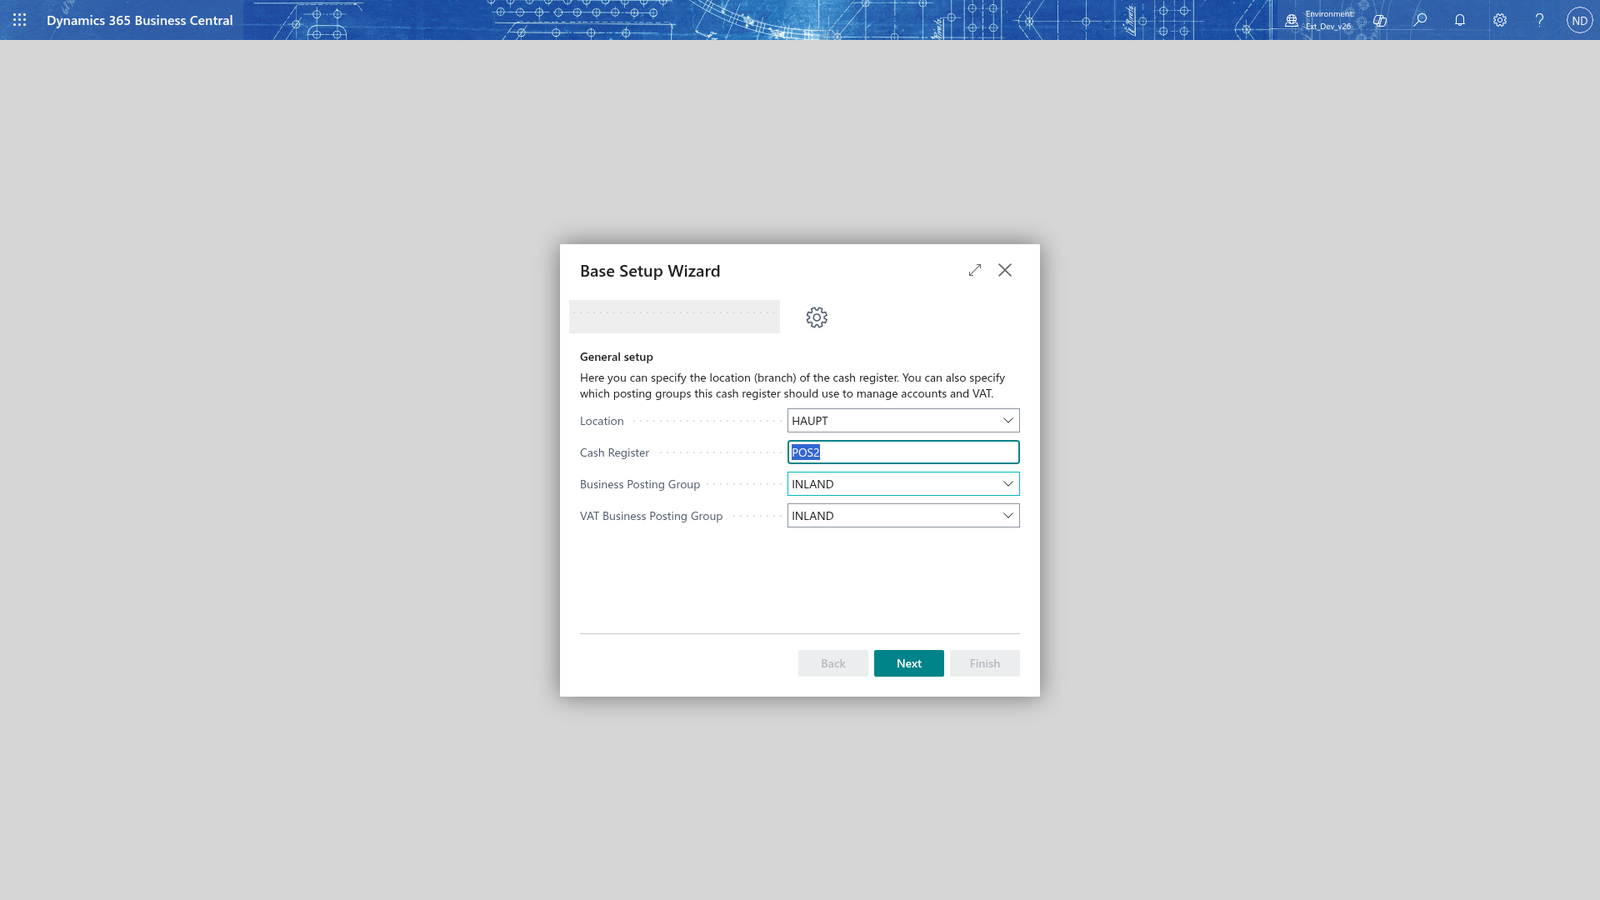
- On General setup, enter the location and the posting groups of the register, and choose Next:
- Location: HAUPT
- Cash Register: TEST
- Business Posting Group: INLAND
- VAT Business Posting Group: INLAND
- On G/L setup, choose Process G/L Data, enter the general journal General Journal Template Name and General Journal Batch Name, turn on Post G/L Automatically and Journal Line Compression, and choose Next.
- On Customer posting setup, enter the customer-posting journal template and batch and, if needed, the Customer Posting Account No., then Next.
- On Item posting setup, turn on Process Item Data and Post Items Automatically, enter the Item Journal Template Name and Item Journal Batch Name, and choose Next.
- On Resource posting setup, do the same for resources, then Next.
- Run on Sundays), then Next.
- On Finish setup, check the settings in the summary and choose Finish.
Note: The wizard creates the cash register setup for HAUPT / TEST and a job queue entry that imports and posts the day's finance data. Until it has finished there is no cash register setup, so the app keeps offering the wizard on the role centers.
Note: You can do the same in fewer fields on Base Setup (role center Setup group, action Base). It has the buttons Insert Role Center, Initialize Standard Template, Initialize Job Queues, Initialize Lookup Setup and Initialize Captions: each step runs only when you choose it, after a confirmation, so nothing is created without you asking for it.
Check the counter register's card
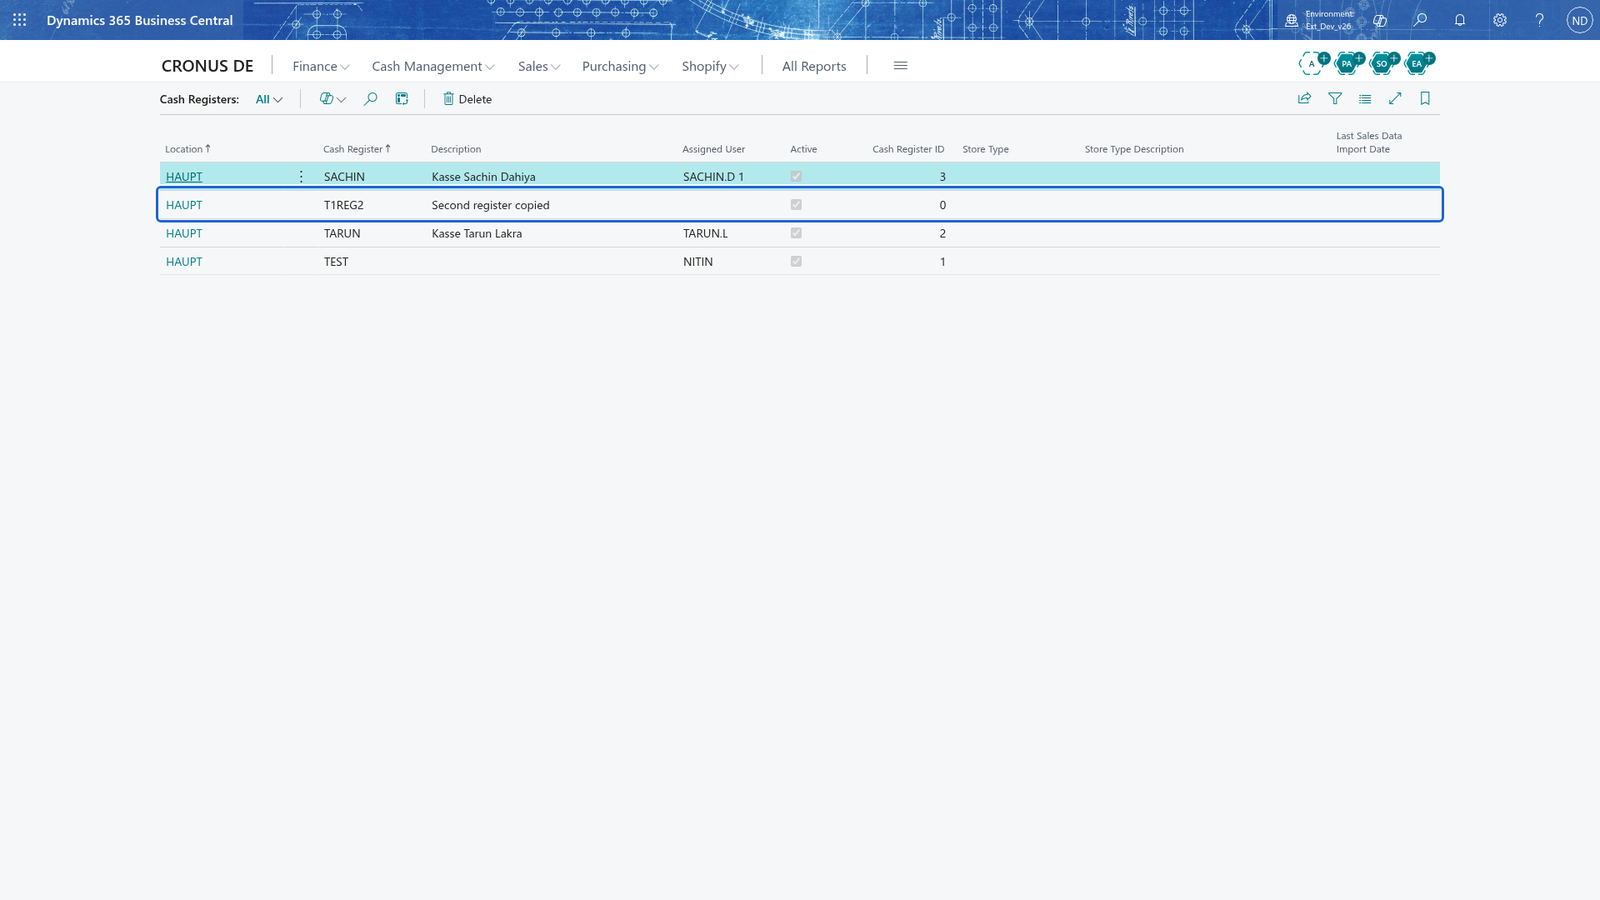
- On the role center, choose Cash Register Setup. The list Cash Registers shows one row per register (Location, Cash Register, Description, Assigned User ID, Active, Store Type, Last Sales Data Import Date).
- Open HAUPT / TEST.
- On the Cash Register Card, in General, check Description, Active, Business Posting Group, VAT Business Posting Group, Template Code and Standard Salesperson Code. Enter a name the register can be recognised by, for example Description Vending counter TEST.
- Use Settings, Guidelines, Prices, Counting, Validations, Maxima, Posting and Voucher to check or correct how this register works; the Posting group holds the journal templates and the Post G/L Automatically, Post Items Automatically and Post Resources Automatically switches you entered in the wizard.
- If the register has no tenders, texts or device setup yet, choose Initialize; Business Central reports The cash register TEST at location HAUPT was initialized.
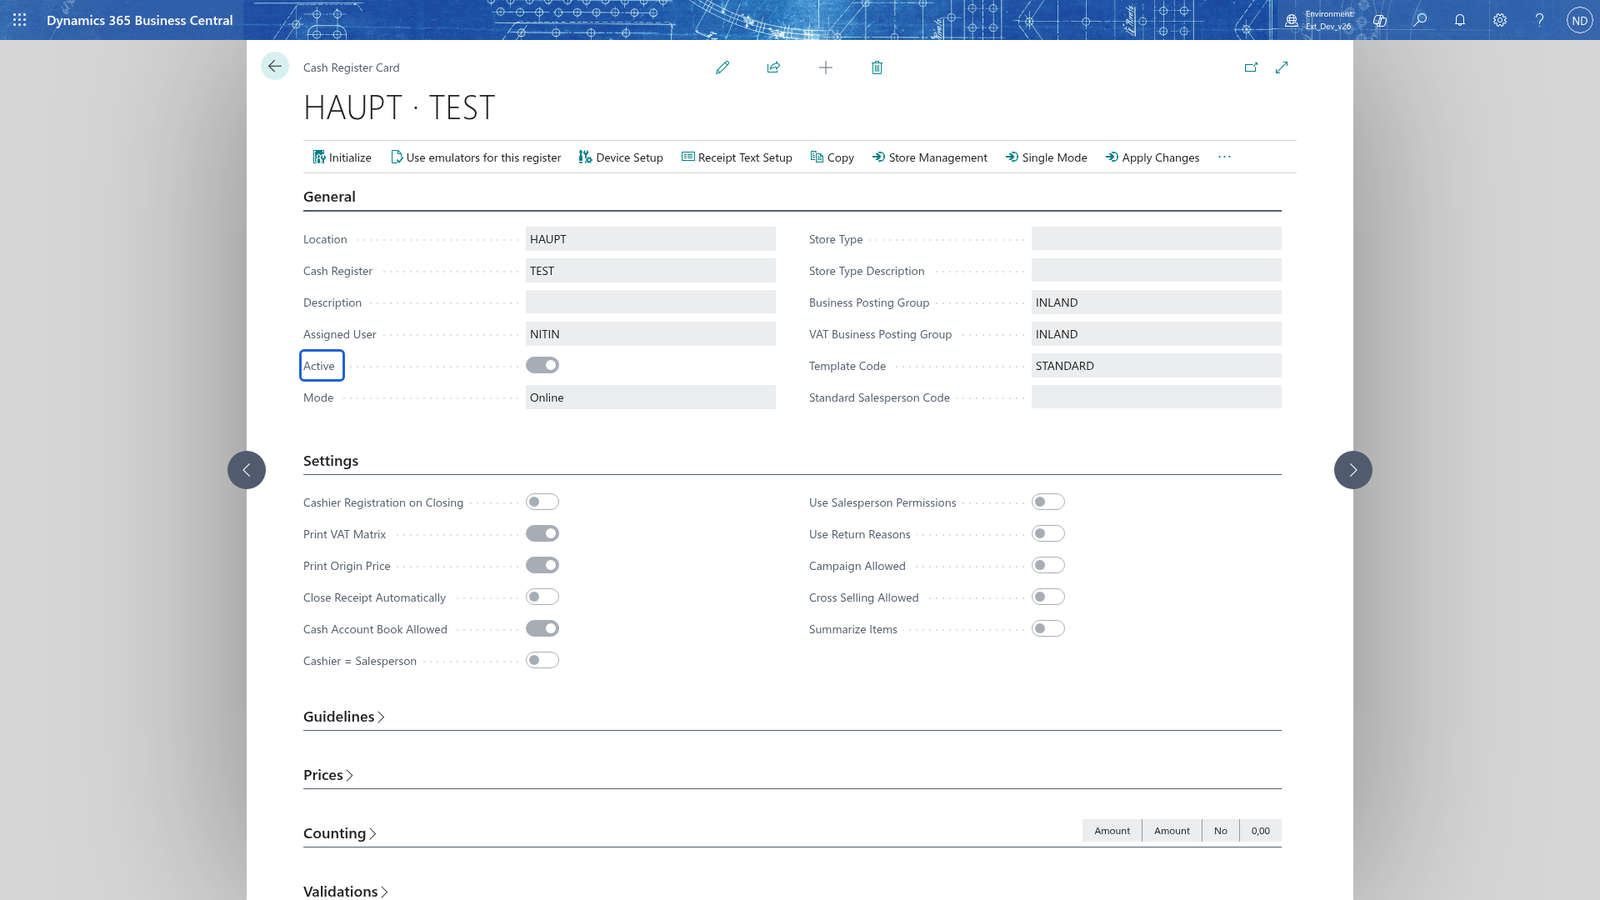
Note: The cash register card holds about 90 settings and the POS reads them at every step. A wrong value here changes how the counter sells, pays and posts, so change settings only when you know the effect.
Copy the setup to a new register
- On the Cash Register Card of HAUPT / TEST, choose Copy.
- In the dialog, From Location and From Cash Register are already HAUPT and TEST. Enter To Location HAUPT and To Cash Register TEST2, and choose Copy.
- Open Cash Registers and open the new register TEST2.
- Correct TEST2 on its own card; TEST is untouched.
Retire a register you no longer need
- Open the register's card.
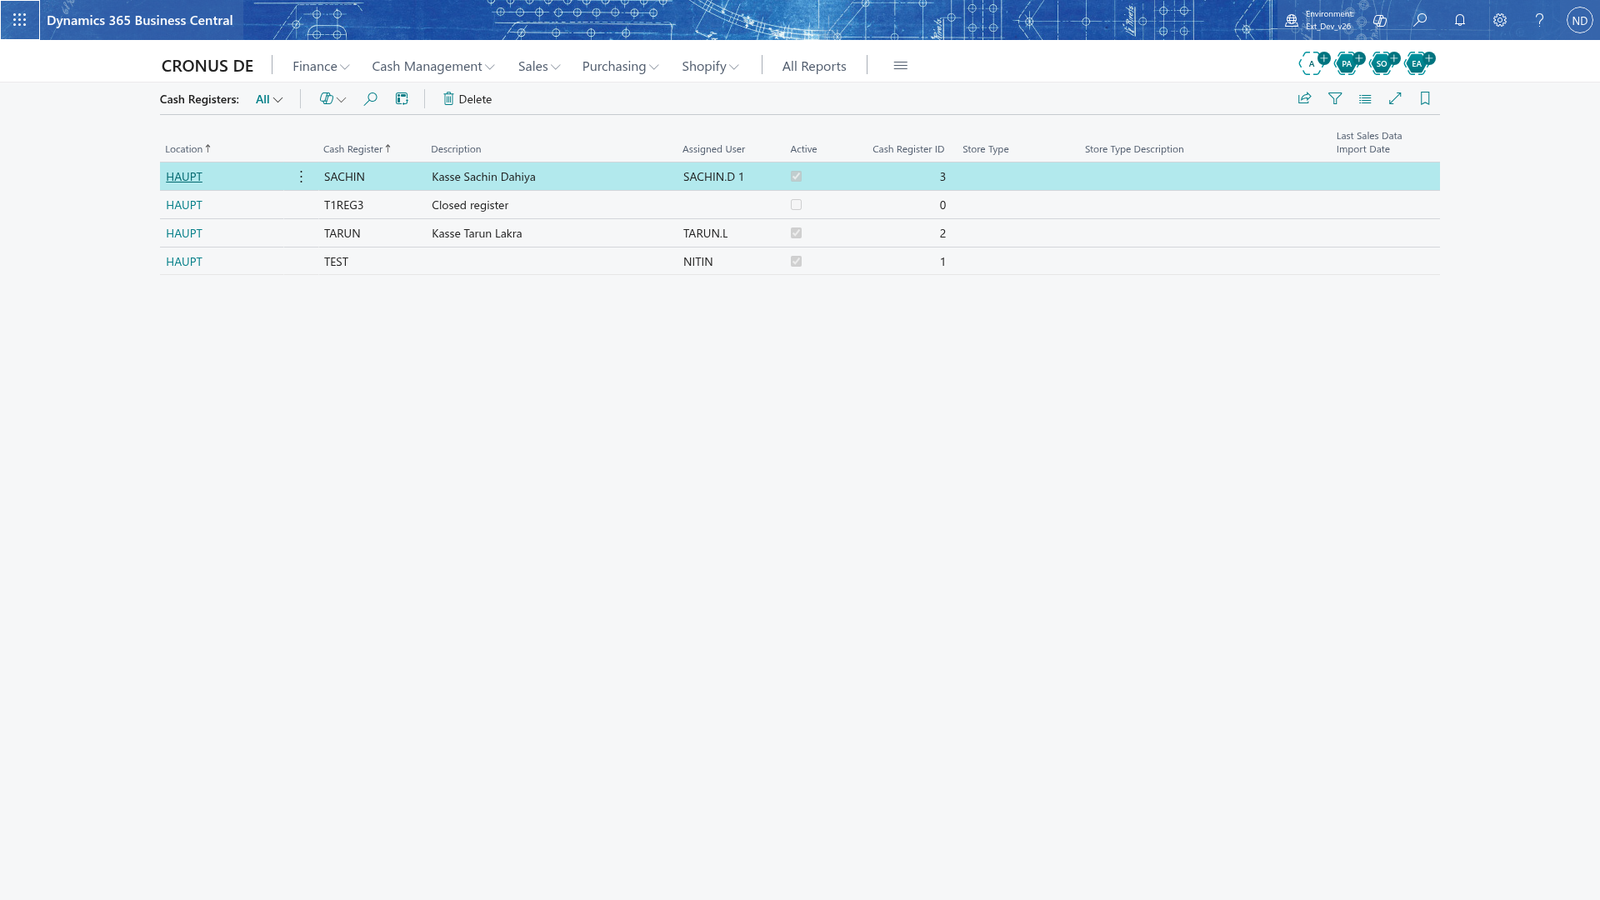
- Turn off Active and close the card.
- Open the card again, change any setting and save. Active stays off.
A register that stays inactive is not deleted by your changes and can be deleted from Cash Registers.
Decide which quick selection keys the till shows
Quick selection keys are the buttons the cashier presses at the till to choose a tender, customer, item, resource or reason (discount, renovated price, allowance) with one tap. The administrator decides per register which keys are shown, so each register shows the keys it needs.
- Search for Quick Selection and open it. The list shows one row per key with Location, Cash Register, Type, Code, Position, Value (visible only for Tender keys), Active, Content Type and Content Data.
- Filter the list on Location HAUPT and Cash Register TEST; by default it shows the keys of all registers.
- Turn Active on or off for each key. To switch all keys currently shown on or off at once, choose Activate All or Deactivate All; because these act on the rows currently shown, set the filter first.
- Change Position to move a key in the list; enter Content Data with Content Type Text to give a key its own button text.
Note: The till shows up to 12 keys per category. If only one reason of a category (allowance, renovated price, discount) exists, the POS uses it automatically.
Set the country and the receipt total rounding
The regional setting gives the register its country/region code and says how the receipt total is rounded when the tendered cash can't balance it exactly, for example where the smallest coin is 0.05.
- Search for Regional Setting and open it. It shows one row per register that has a regional setting.
- Open the row HAUPT / TEST; create a new row for the register if it isn't in the list yet.
- In Country/Region Code, enter the country the register sells in.
- Turn on Sum Rounding Active, enter the Sum Rounding Precision (for example 0.05), choose the Sum Rounding Type (Nearest, Up or Down) and enter the Sum Rounding Diff. Account that the difference between the receipt total and the paid amount is posted to.
Assign the printers and the customer display
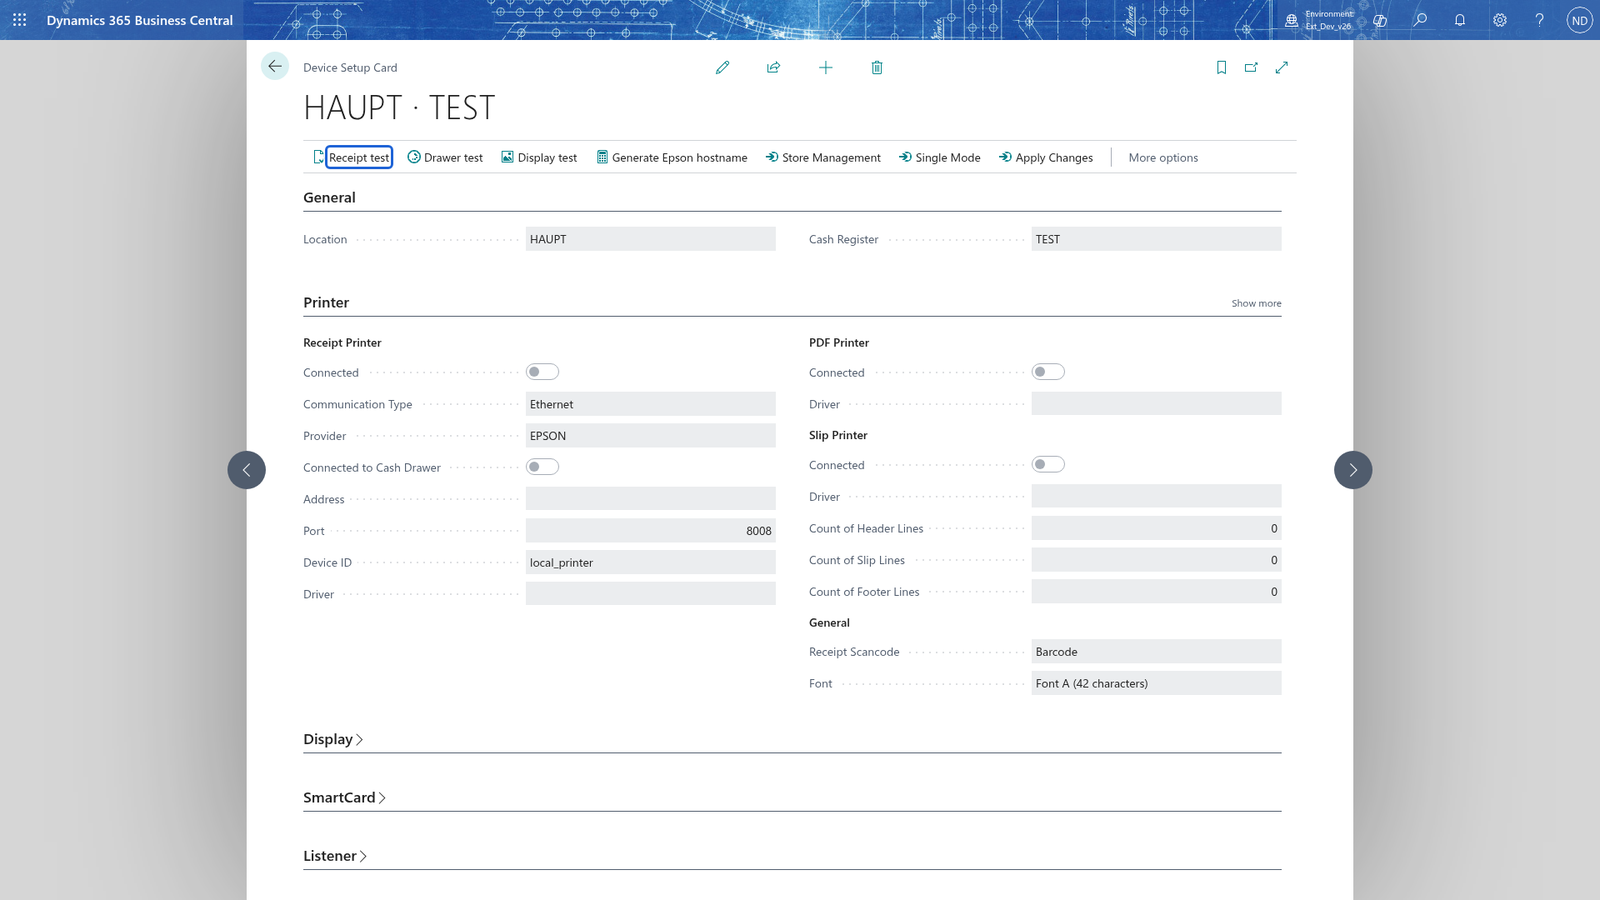
- On the role center, choose Device to open the device setup.
- In General, enter Location HAUPT and Cash Register TEST.
- Under Receipt Printer, turn on Connected to Printer and enter the printer settings that match Printer Communication Type: Printer IP Address, Printer Port and Printer Device ID for a network printer, or Printer Driver. For an EPSON network printer, Generate Epson hostname makes the printer's hostname from its serial number. Turn on Connected to Cash Drawer if the register opens the drawer.
- Under PDF Printer, turn on Connected to Document Printer and enter the Driver and Timeout.
- Turn on Connected to Slip Printer if the register prints slips.
- Under Display, turn on Display Connected to show the receipt on the customer display.
- Choose Receipt test, Drawer test and Display test to check the devices.
- To set up many registers with the same printer settings, choose Store Management, edit the settings and choose Apply Changes.
Check the devices of all registers on one list
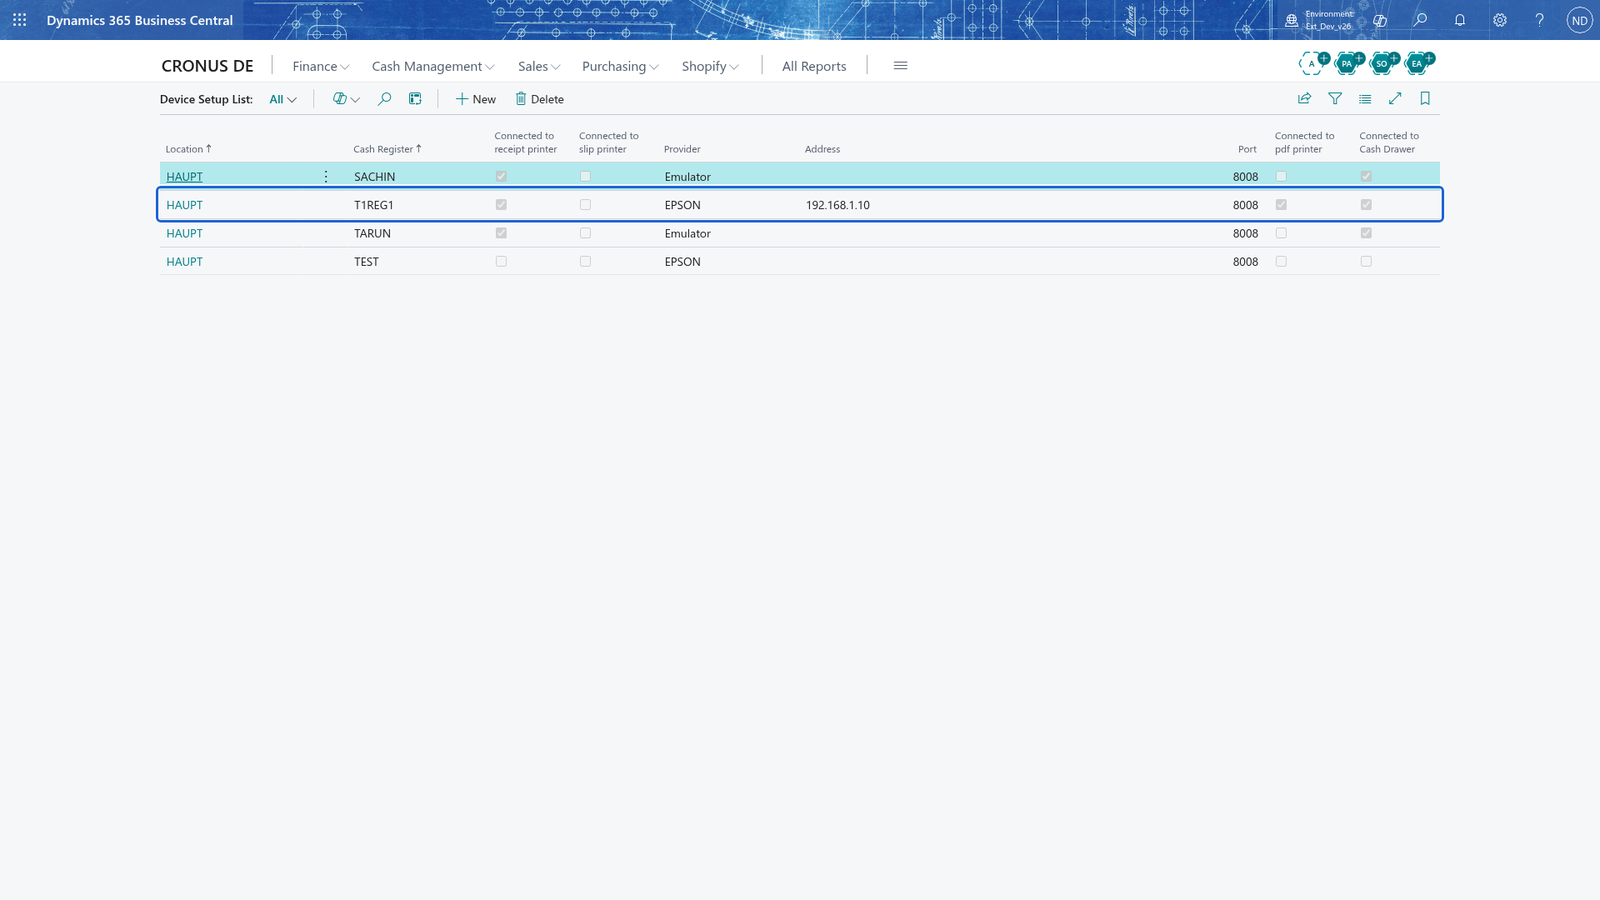
Search for Device Setup List. One row per register shows Connected to receipt printer, Connected to slip printer, Printer Provider, Connected to pdf printer and Connected to Cash Drawer, so you see at once which registers print. The counter register TEST is on this list.
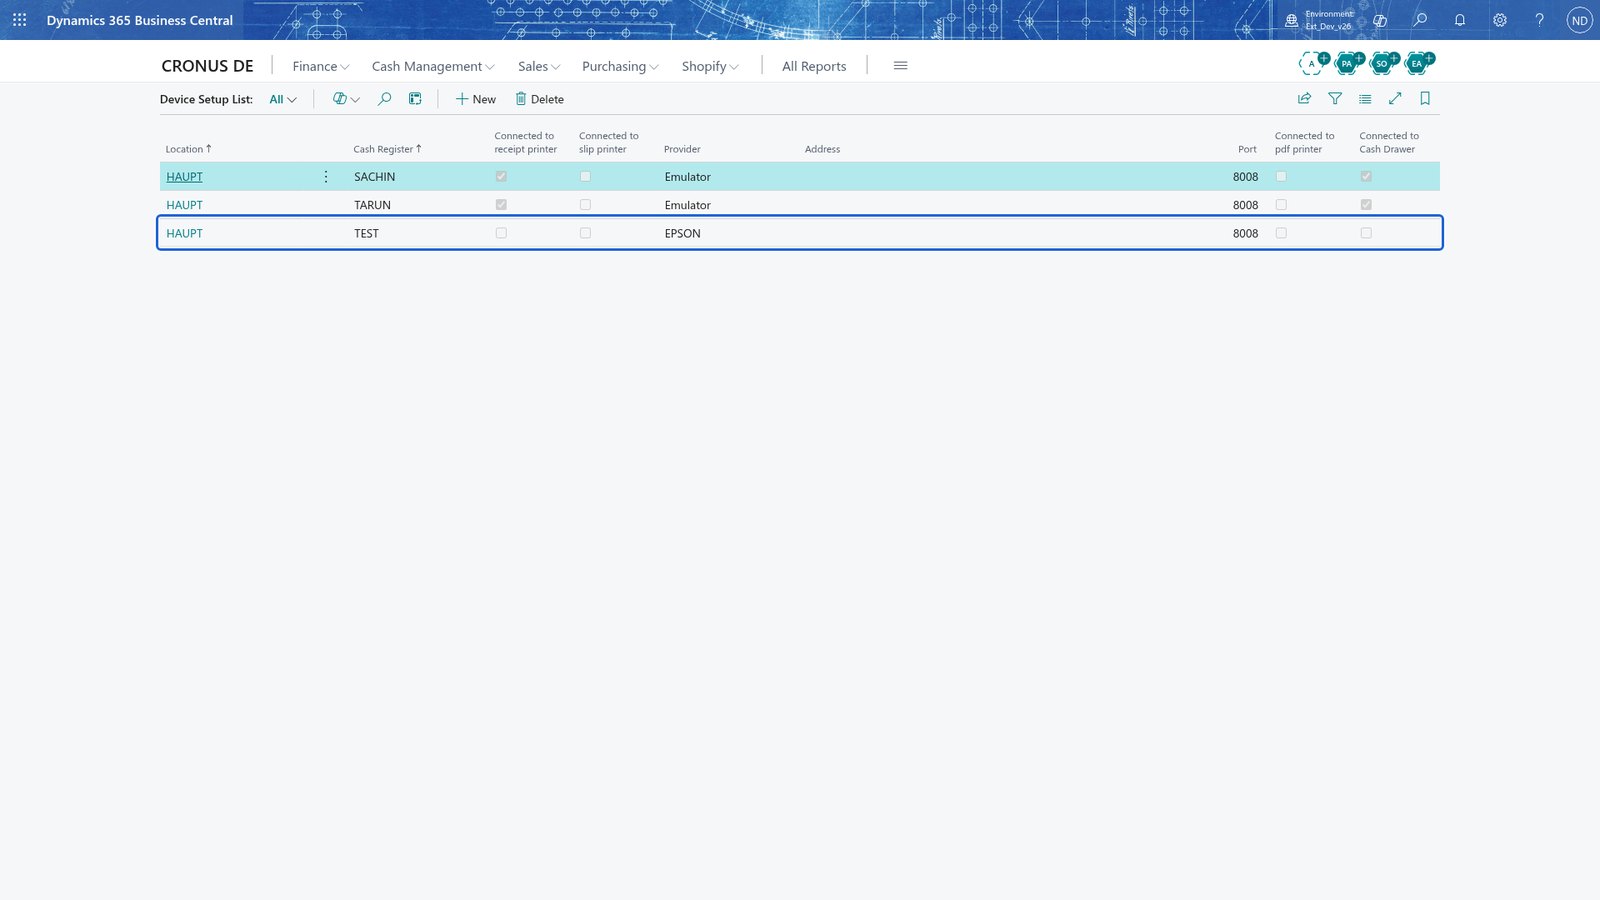
Choose the sounds the POS plays
- On the role center, choose Sound to open the Sound Setup List.
- Enter a new row for every event whose tone you want:
- Event: Error Message
- Location: HAUPT, Cash Register: TEST (leave them empty to use the setting for all registers)
- Tone: Edgy
- Frequency: 100 (hertz)
- Duration: 200 (milliseconds)
- Repeat for Item not found, and optionally for Item Input and Receipt Close.
- Choose Play to hear the selected tone with its frequency and duration.
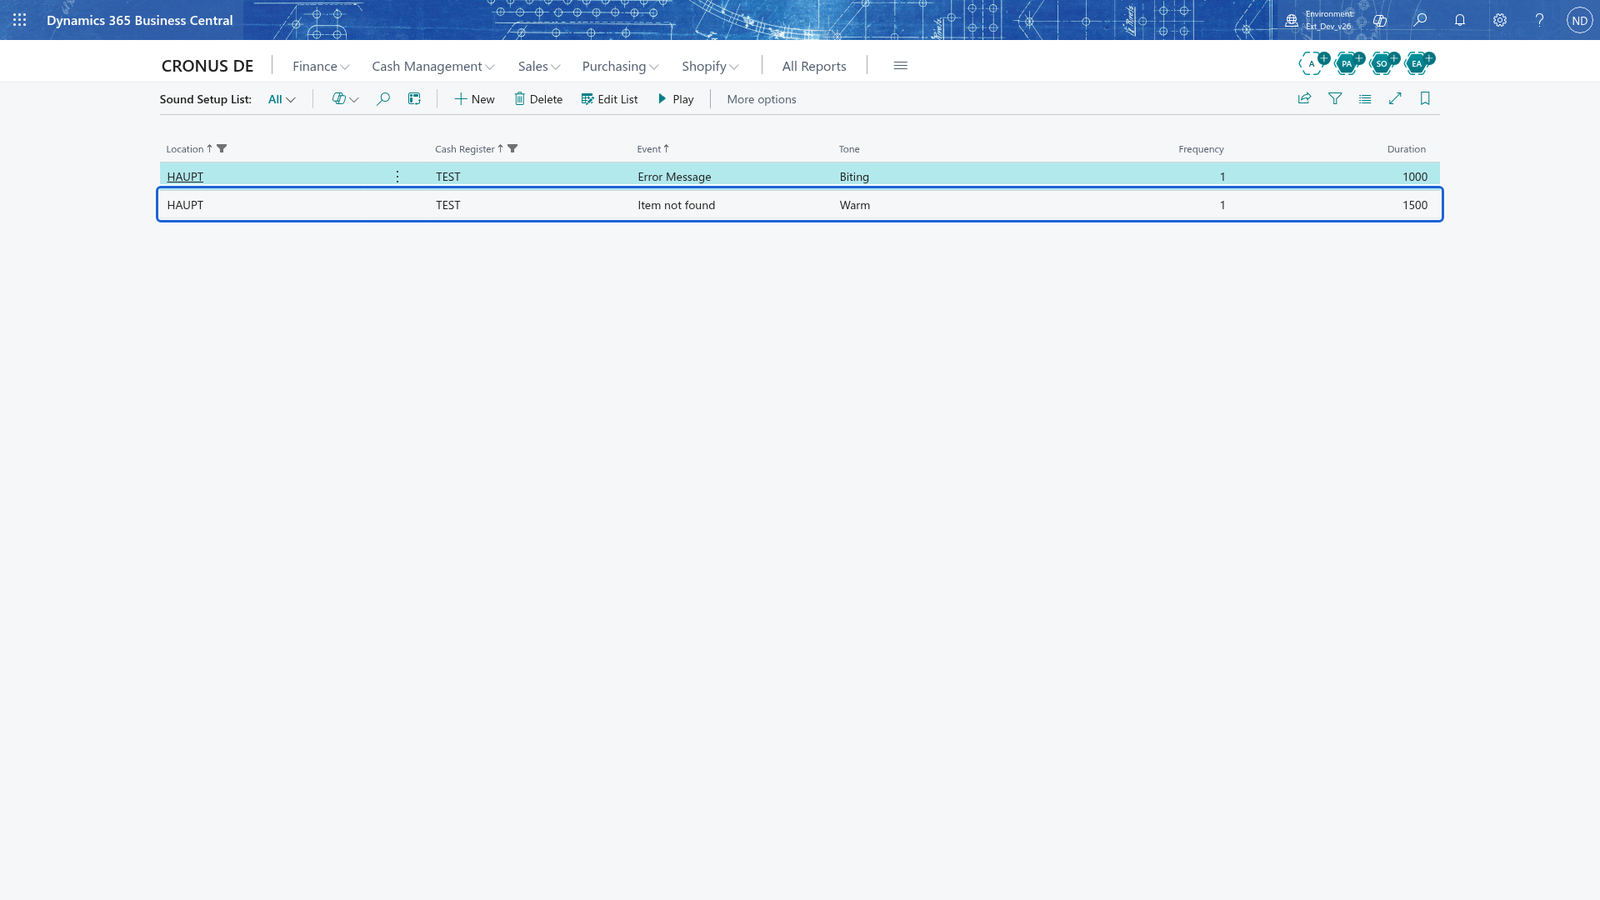
Note: A tone plays when its event happens at the POS: an item is entered, a receipt is closed, an error message appears or an item is not found. The tones are Smooth, Biting, Edgy and Warm.
Check the receipt text and the design
The printed receipt is composed of a Receipt Text Setup (Setup group, action Receipt Text): one text per register, Type and validity (Start Date, End Date). Its header lists Location, Cash Register, Type and validity; below it the Receipt Text Lines carry Position, Content Type, Alignment, Content Data and Content Style. Test the result with Receipt test on the Receipt Text Header and open the printer settings with Device Setup there. The POS design lives in the Layout Template List (one receipt layout template per design, Code and Description) and the Designer List: each style is based on a template, and there you Copy template, Update Template or Delete template. On the Designer Card, choose a Theme, which sets the colors, fonts and effects in the Details and Font Size groups at once, and upload a Background Image. The Initialize Standard Template button of the Base Setup card creates the standard receipt layout template and style the registers start from.
What happens
- The wizard creates one cash register setup per Location + Cash Register, with the posting groups and journal templates you entered, and a job queue entry that runs the finance import. The register now appears in Cash Registers and its card can be maintained.
- The copied register has its own card and can be changed independently of the original.
- The device setup is saved per register and shows up on the Device Setup List; the POS prints on the connected printers and opens the drawer and the display.
- The sound settings are stored per event and register; the tone plays when the event occurs at the POS.
- The quick selection keys are stored per register and category; the POS shows the active keys of each category at the till, up to 12 per category.
- The regional setting stores the register's country/region code and its receipt total rounding; the POS rounds receipts on that register with these settings.
- You can correct every setting later on the same pages. A register that is Active keeps its settings; only an inactive register can be deleted.
If something goes wrong
- The wizard shows "Insufficient Permissions" instead of the first step: you do not have the setup rights. Sign in with a user who has the SUPER permission set or the app's All permission set and run the wizard again.
- "Cash register TEST of location HAUPT does not exist. Create it on the Cash Registers page first." when you choose Receipt test or Drawer test: the register has no cash register setup. Create it (Base Setup Wizard or Initialize on the cash register card), then test again.
- "The customer display is not connected. Activate Display Connected on the device setup first." when you choose Display test: turn on Display Connected on the Device Setup Card and save.
- On the Base card a step shows "The step Initialize Sales Data is not available.": that step is not part of this app's setup and nothing was created. Leave it and continue with the other buttons.
- "Enter the demo location and the demo cash register before you initialize the demo data." when you run Base Setup with Initialize Demo Data on: fill Demo Location and Demo Cash Register first, then run it again.
- On the Designer List, "The layout template X already exists." when you Copy template: enter a code that is not used by another template yet.