
Move master data to the register and sales data back (Distribution)
Distribution copies master data (items, prices, tenders, discount reasons) to registers and transfers their sales data back. This chapter covers the synchronization setup, publications, subscriptions and the entries that document each transfer.
Before you start
- Set up the register first: the cash register HAUPT / TEST and its device setup exist, as described in the setup chapter. Distribution subscribes registers that are already there.
- Install the QUALIA POS Listener on the till PC: start
qpos_listener_setup.exe, choose a target folder, install it and finish the installation so the listener starts with Windows. It is the program outside Business Central that talks to the register (hardware and data transfer). - Decide how Business Central reaches the till. With the browser connection the listener runs an HTTPS address on the PC and needs a certificate in Windows' personal and trusted certificate stores. With Azure Relay you create a relay namespace in Microsoft Azure and note down, for each side, the URL (it always ends in
.servicebus.windows.net), the connection name, the security key name and the security key. - Make a Business Central user for the transfer (for example
POS01) and note its user name and password. The web service user of a register is entered as the O-Auth user name,[email protected], not as a Business Central user ID. - The register reads the same items, customers and VAT setup as the rest of the company.
Set up the web service connection of the register
A register can only subscribe when a web service connection exists for its location and cash register, so start here.
- Search for Webservice Setup List and open it.
- Choose New and open the card of the empty line.
- In the General group, enter Location Code HAUPT, Cash Register Code TEST and choose ERP in Type. Type says which side the connection belongs to: POS for the register, ERP for the main system.
- In the Settings group, enter the root URL of the web service on the other system in Root (for example
https://businesscentral.dynamics.com/QUALIA/Company), the user of the register in User (for example[email protected]), its password in Password and the company in Company (the company). - Enter how long a call may wait in milliseconds in Timeout (for example 60000; 0 uses the default timeout), and close the card. The line is created when you leave the card.
- Open the line again and choose Test to check the connection.
You see Webservice Setup List with one line per register and connection type. The Test action opens Webservice Test with the connection's settings already filled in. There you enter the Service Name and Function Name to call and the Request as JSON, and choose Execute; HTTP Status and Response show what the other side answered, so you see right away whether the address, the user and the company are correct.
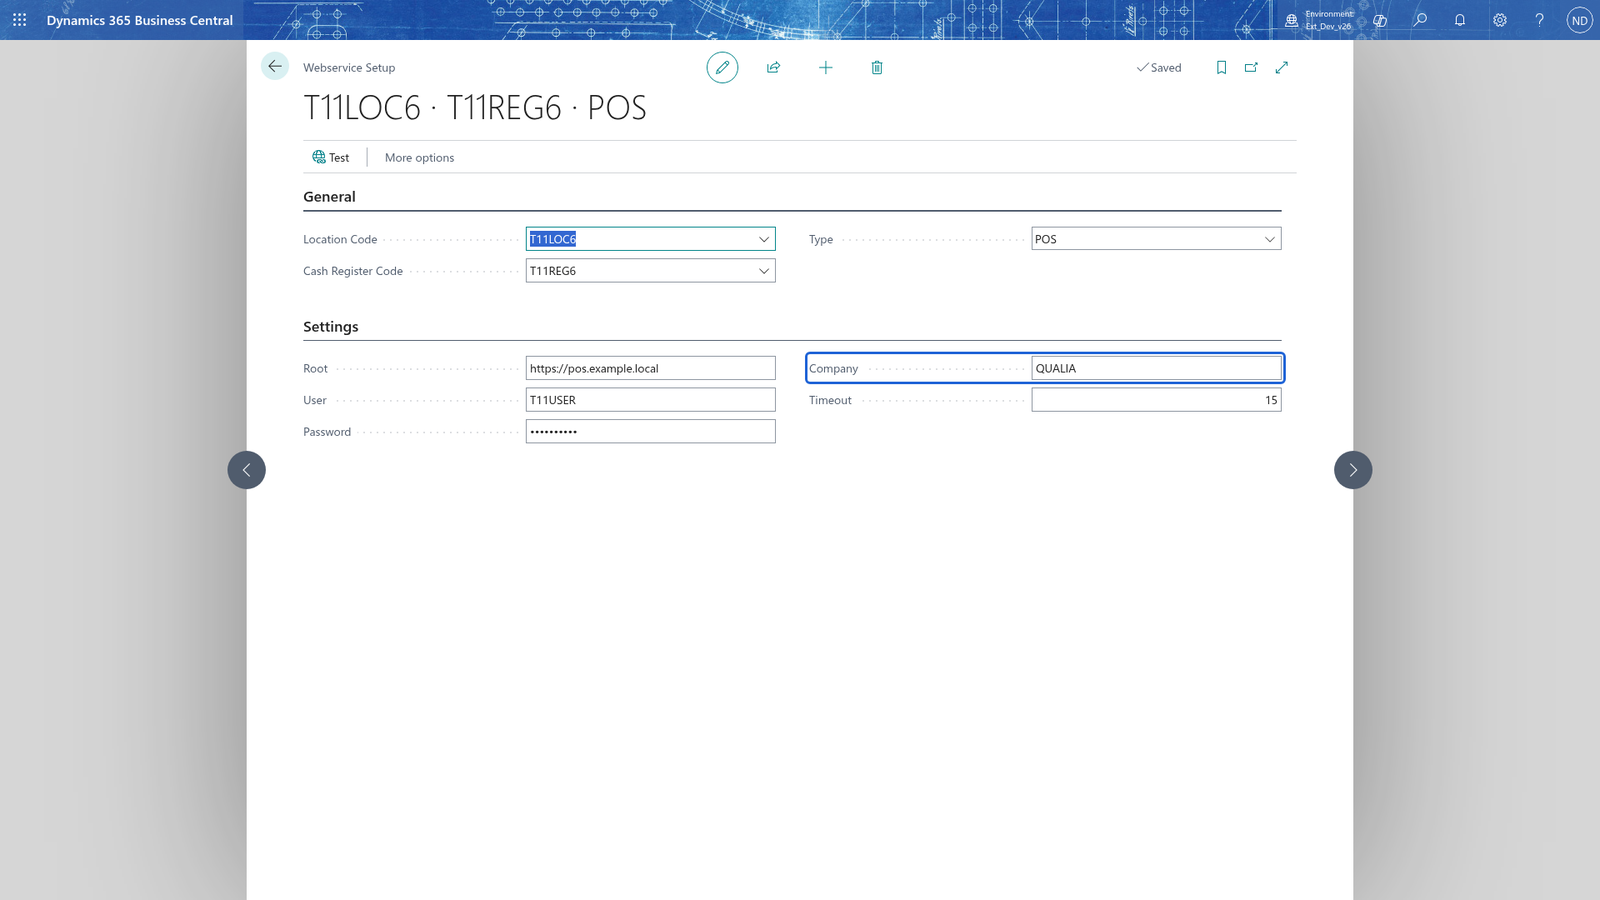
Note: The Password is stored in isolated storage and not in the setup table, so Business Central shows only asterisks afterwards and you see the password again only if you enter it again.
Note: A register can subscribe to a publication only when a web service connection exists for its location and cash register. Create this connection first, otherwise the subscription is rejected.
Create the publication and publish its tables and columns
A publication names the tables the register gets; the Active tickbox on an article says whether the table is published.
- Search for Publications and open it.
- Choose New, type the name QT and close the line. The card opens.
- In the General group, enter a description of the publication.
- In the Articles part, choose Activate All (or tick Active on the tables the register needs). The Count of Records shows how many records of that table the register would get.
- To send only some columns of a table, choose Some in Columns on the article line; with All every column is transferred. Then search for Article Columns and turn on the Active tickbox of each column the register needs. The primary key columns of the table are always transferred, so you don't have to switch them on.
- Choose Upload to take a first snapshot for the publication.
The card shows how many tables are published and how many registers receive them in General. Every register that subscribes from now on gets the current data of these tables; when a published record changes, Business Central logs the change as a replication entry, and the replication entries are sent to the subscribers.
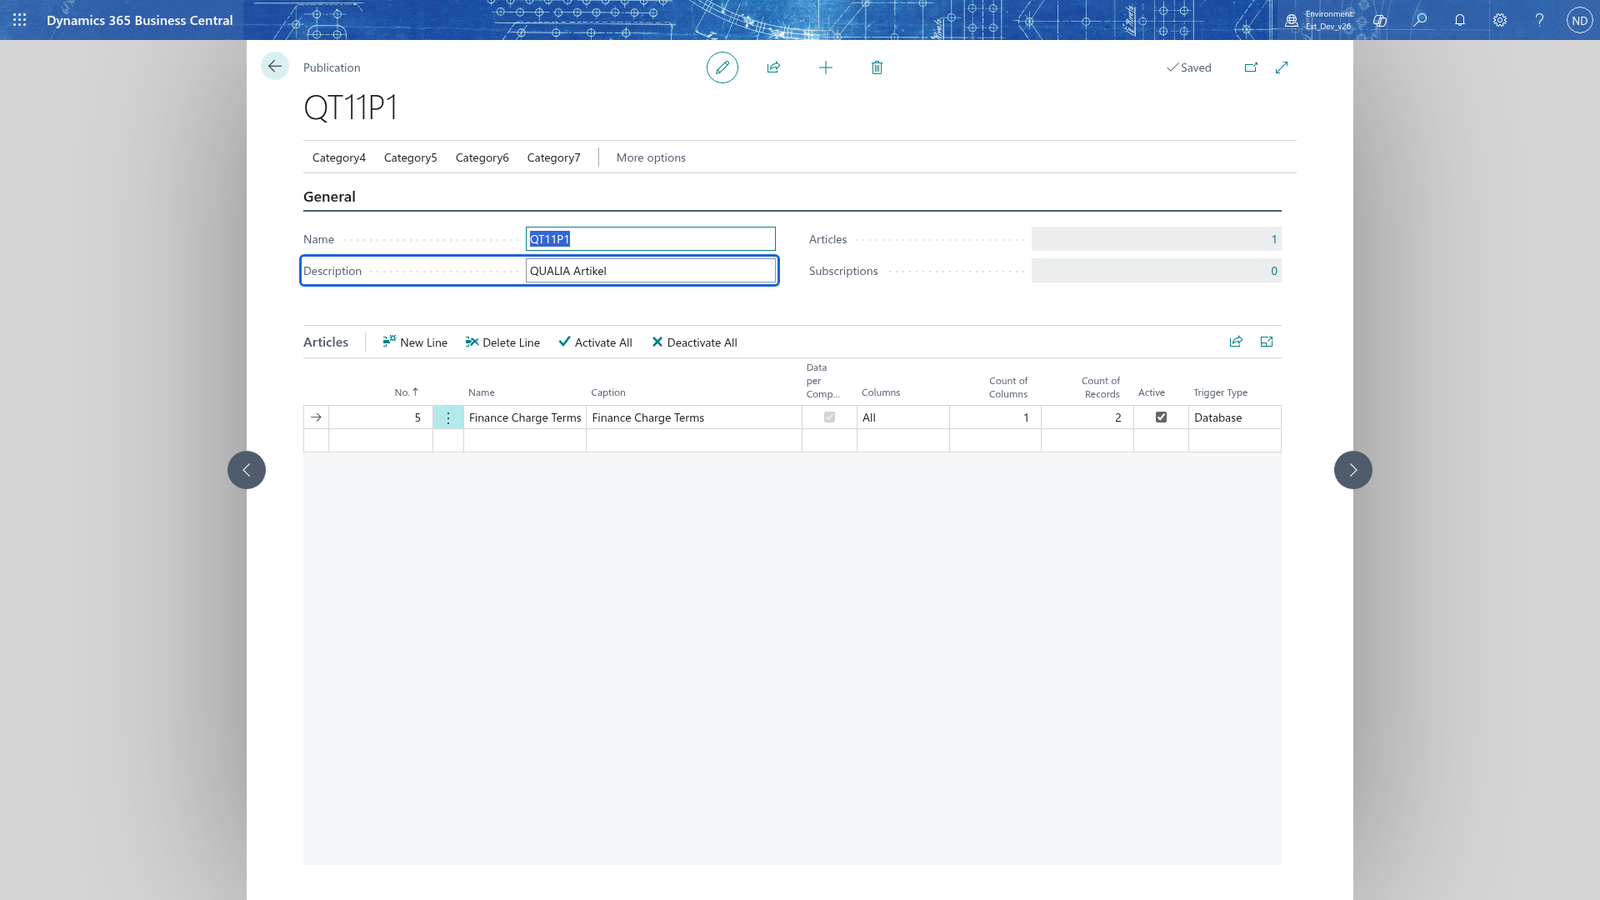
Note: Only tables whose Active tickbox is on are published. A table you switch off is no longer sent, and the registers keep the data they already have.
Note: The card's Insert, Modify and Delete actions create replication entries for every (filtered) record of the selected article, so subscribers receive the whole current data of that table. Use them when you change the article setup after the registers were already subscribed.
Note: All, POS and Standard fill the article list with all tables, the POS tables or the standard tables, so you don't have to add them by hand.
Subscribe the register to the publication
With a subscription the register promises to receive the publication; the wizard starts it.
- On Publications, choose the publication QT.
- Choose Add. The subscription wizard lists every register that has a device setup.
- Tick Active for the register that should subscribe; its Location Code and Cash Register Code come from the device setup.
- In the same step, enter the Name of the subscription (for example HAUPT TEST), the Business Central server in Server Name (for example
srv-bc01), the User and Password of that system and the Type: Push sends the data from the register, Pull lets Business Central fetch it. - Choose Next, turn on Initialize (the first synchronization sends a snapshot) and New Snapshot (start from scratch), and choose Finish.
The wizard creates the subscription and the Subscriptions part of the publication shows the register with Active on, its Type and its Status. If you asked for it, a snapshot is uploaded for the new subscription. Choose the subscription's line to open its card and choose Check to see the current status.
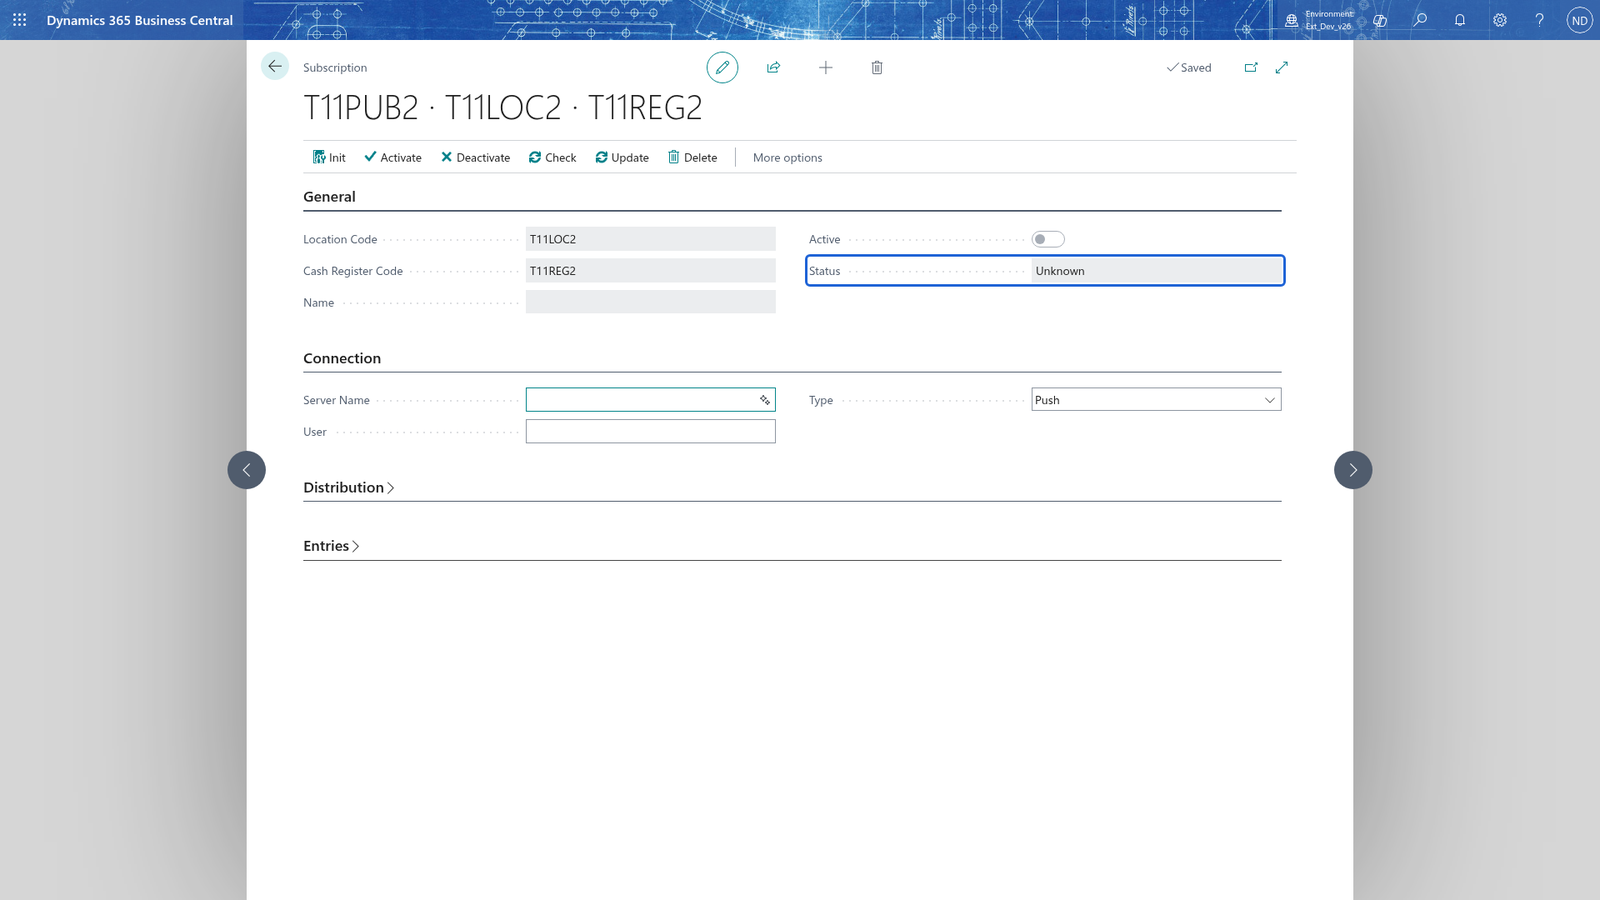
Note: Finish only saves registers that have a Server Name. If one is missing, the wizard names the register and waits on the same step.
Note: Use Check, Update and Delete on the publications page for all subscriptions of the publication at once, or Init, Activate, Deactivate, Check, Update and Delete on the subscription card for one register. Delete asks first: Delete all subscriptions of publication <name> and their entries?
Note: An active subscriber that still has receipts it hasn't sent blocks the deactivation of its subscription; the Has Open Transactions column shows which one that is.
Configure the QUALIA POS Listener for the register
The QUALIA POS Listener on the till PC must use the same connection.
- Open the Device Setup Card of the register HAUPT / TEST (as in the setup chapter).
- In the Listener fields, choose Azure Relay in Listener Provider (or browser for the PC's own HTTPS address).
- In Listener URL, enter the address of the register's listener (for browser communication the HTTPS address of the PC) or the Azure Relay endpoint that ends in
.servicebus.windows.net. - Enter the Listener Security Key that must match the key you set in the listener itself.
- With Azure Relay, also enter Listener Security Key Name and Listener Connection Name, as you noted from your Azure account.
- Enter how long a call may take in Listener Timeout (for example 60000 milliseconds).
- Close the card.
On the till PC you enter the same values in the configurator of the listener (the connection provider, the URL and the keys must match) and restart it, so both sides use the same connection. In the tester of the listener, send a test call; the status must be SUCCESS.
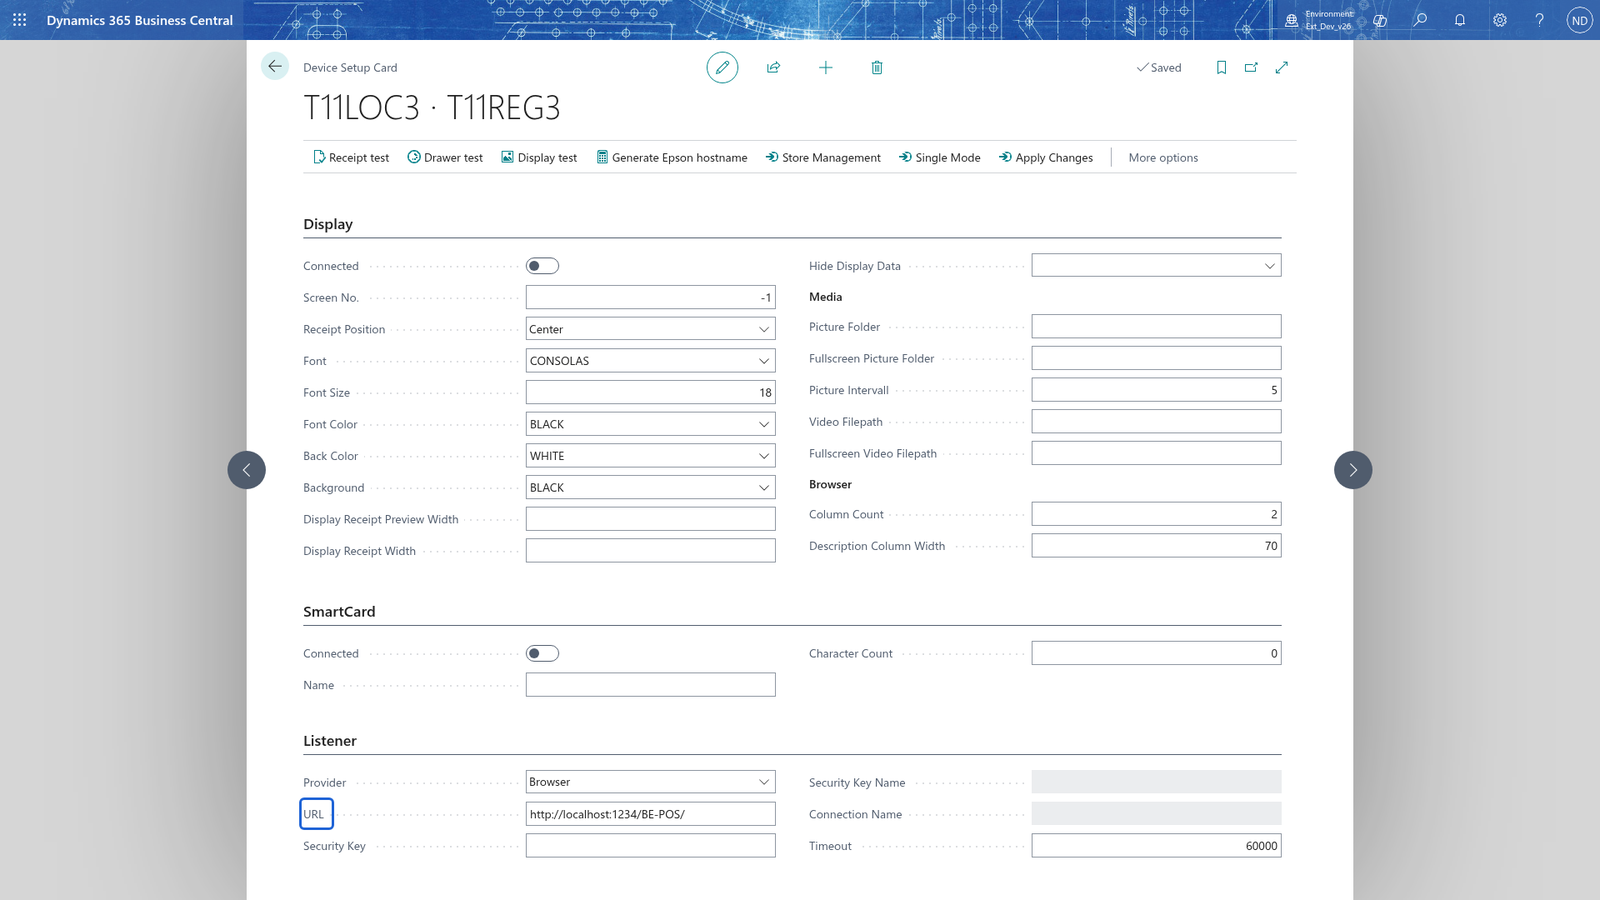
Note: Listener Security Key Name and Listener Connection Name can only be filled when Listener Provider is Azure Relay; they are greyed out for the browser connection.
Take a snapshot and check that the register imported it
A snapshot is the copy of the ERP data the register loads.
- On the card of the publication QT in Publications, choose Upload. A snapshot is created and kept as a file that the registers load.
- Search for Snapshots and open it. You see each snapshot's Snapshot Name, Creation Date/Time, Expiry Date/Time and Last Transaction No.
- Choose the snapshot's line and choose Download to get the file, for example to give it to the register directly.
- On the register, load that file. Below the snapshots list, the Entries part shows per register the Location Code, Cash Register Code, Imported Files, Pending Files and Processed values.
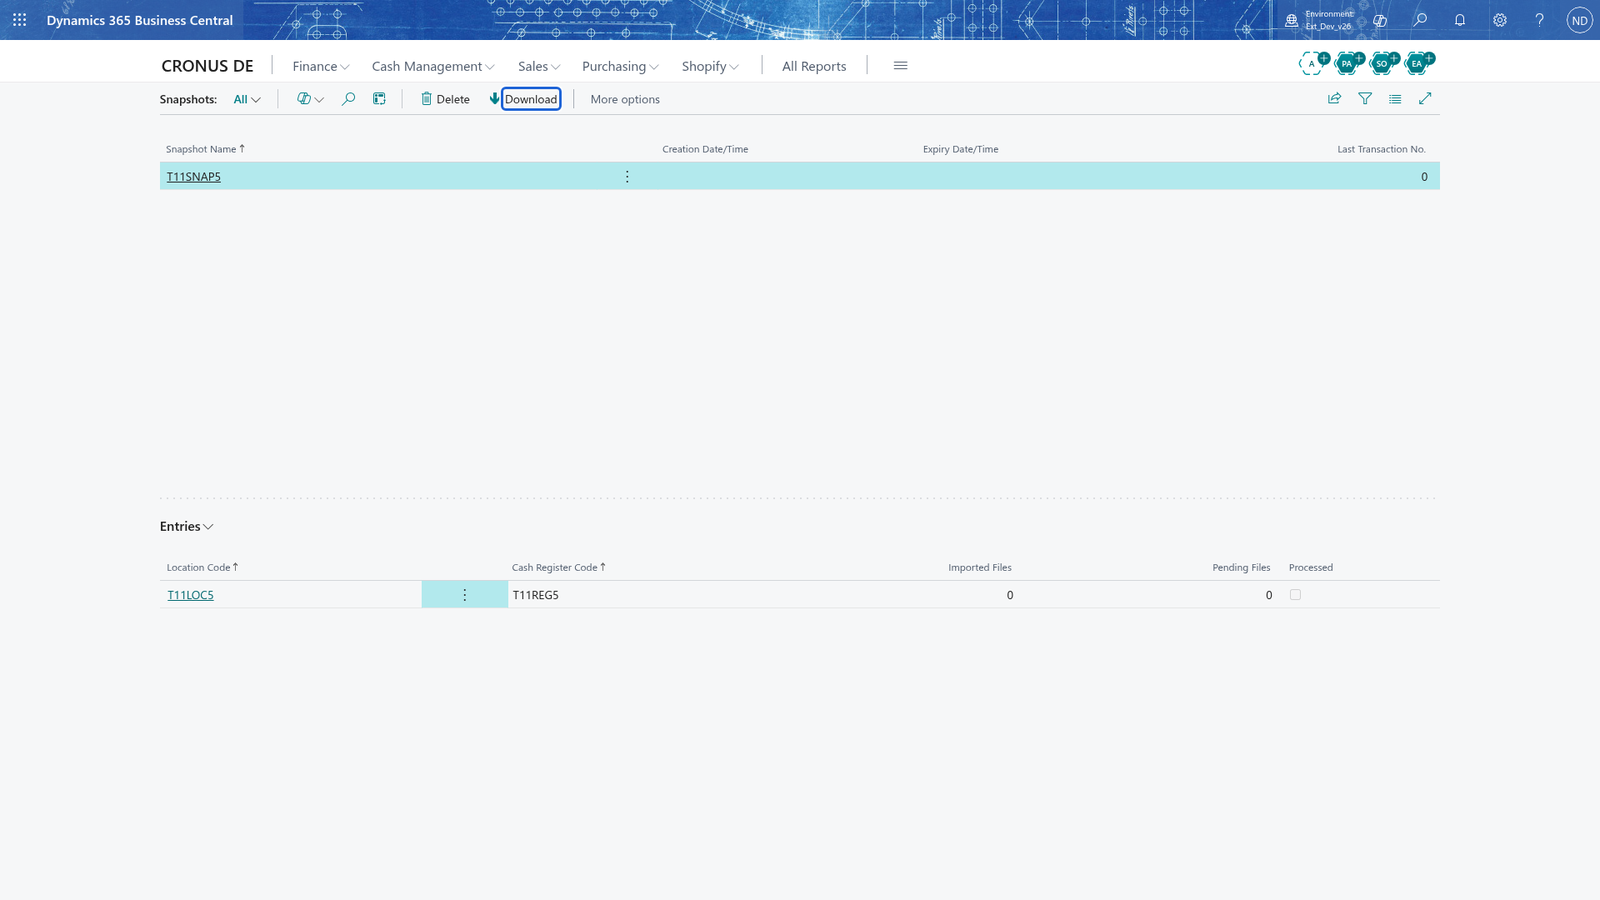
Note: A snapshot has an Expiry Date/Time. Once it has passed, the register must not read it any more, and Download refuses it: take a new snapshot with Upload.
Send the register's sales data back to Business Central
At the end of the day the receipts come back with the synchronization.
- Search for Synchronization Setup List and open it. It lists one line per register whose sales data returns to Business Central.
- Choose the line HAUPT / TEST to open its card. Choose Pull in Type so that Business Central fetches the data, and enter how many records one run may transfer in Records Per Run (for example 100). Close the card.
- Search for Synchronization Tables. It lists the sales tables whose changes go back from the POS; tick Active where you need them, or use Activate All / Deactivate All. Only the tables that are active here take part; every table you leave off reduces the data that is transferred.
- Back in Synchronization Setup List, choose the register's line and choose Entries.
- Choose Synchronize in the process area.
You see The sales data of all Pull registers was synchronized. Each line of the synchronization entries shows Entry No., Record Info (which record was transferred) and Record Data (the record's content). At the end of the day the sales of the cashiers arrive in Business Central as sale, payment and discount lines and are imported and posted as described in the finance posting chapter.
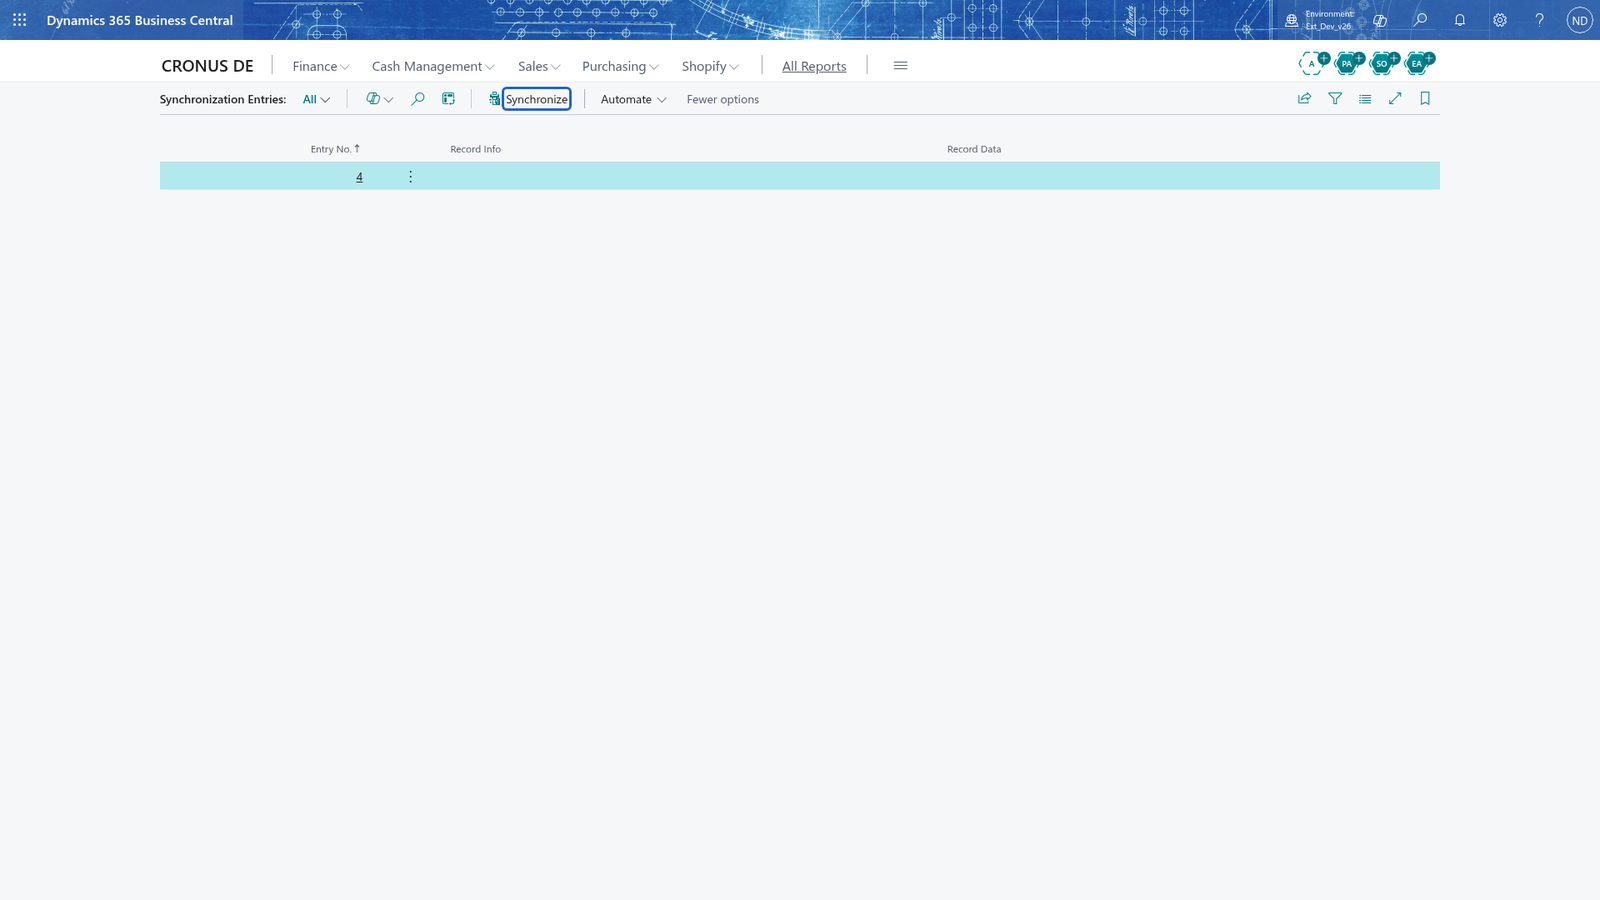
Note: With Push, the register sends its own data from its own job queue; with Pull, Business Central fetches it. The Synchronize action only fetches the Pull registers, so use it for those.
What happens
- Business Central keeps a replication entry per record change of the published tables (on the Replication Entries page); the next replication pass sends them to the subscribers.
- A subscription passes through the statuses Not Initialized, Initialized, Success, Error, Expired and Retry. Init on the subscription card starts again from the beginning.
- Every action on a subscription is logged on its Subscription Entries with a date and time and a message, so you can see what went wrong.
- Synchronization entries record each record that moved between the till and Business Central; the Synchronization Entries page shows them.
- The imported sales are processed as described in the finance posting chapter; nothing is deleted when you delete a publication or a subscription.
If something goes wrong
- There is no web service connection for location HAUPT and cash register TEST. Set up a connection in POS Webservice Setup before subscribing this register.: the register has no web service connection. Create it in Webservice Setup List first, then add the subscription again.
- Enter the server name for cash register HAUPT TEST.: the subscription wizard needs a server for every active register. Enter it in Server Name, then choose Finish again.
- Select at least one cash register (Active) to subscribe.: no register is ticked. Tick Active for the register that should receive the publication.
- Publication QT has no subscriptions.: you chose Delete for a publication without subscribers; remove the publication itself instead if you no longer need it.
- The snapshot QT-... expired on... Create a new snapshot before you download it again.: the snapshot's validity has passed. Choose Upload on the publication card to take a new one.
- The sales data of all Pull registers was synchronized. without new entries: the register hasn't sent any sales yet, or the sales tables are not active in Synchronization Tables. Check Active there.
- A subscription action ends with Failed:... Error:...: the register didn't answer. Check the Last Error Message on the subscription card and its Subscription Entries, then check that the QUALIA POS Listener of the till is running.
- Register HAUPT / TEST is set up as Push: the register transfers its sales data itself through its own job queue. The main system can only fetch the data of Pull registers.: you chose Synchronize for a register whose Type is Push. The register sends its data itself; run the synchronization on the register side, or set Type to Pull in Synchronization Setup List so Business Central fetches the data.
- Enter the URL of the webservice first.: you chose Execute in the Test window without a URL. Enter the complete request URL in the Test window, then choose Execute again.
- The request could not be sent to...: the URL can't be reached. Check the address, the network and that the other Business Central is running.