
Designing and maintaining receipts
The receipt design defines the printed receipt: header with the store address, footer, advertisement texts and the lines printed per receipt type. This chapter covers the receipt texts, the receipt design and the receipt types.
Before you start
- Create the cash register (chapter Set up the point of sale): the cash register HAUPT/TEST must exist, because the receipt test prints through the cash register setup.
- In Device Setup (chapter Set up the point of sale), assign a receipt printer to HAUPT/TEST, otherwise nothing can be printed.
- To have the register's actions logged, open the Data Log Setup List (from the Data Log list with Setup) and set the Logging Type for each data type (Customer, Item, Cash Register, Employee, Voucher, Sale Entry).
Open the receipt design and maintenance pages
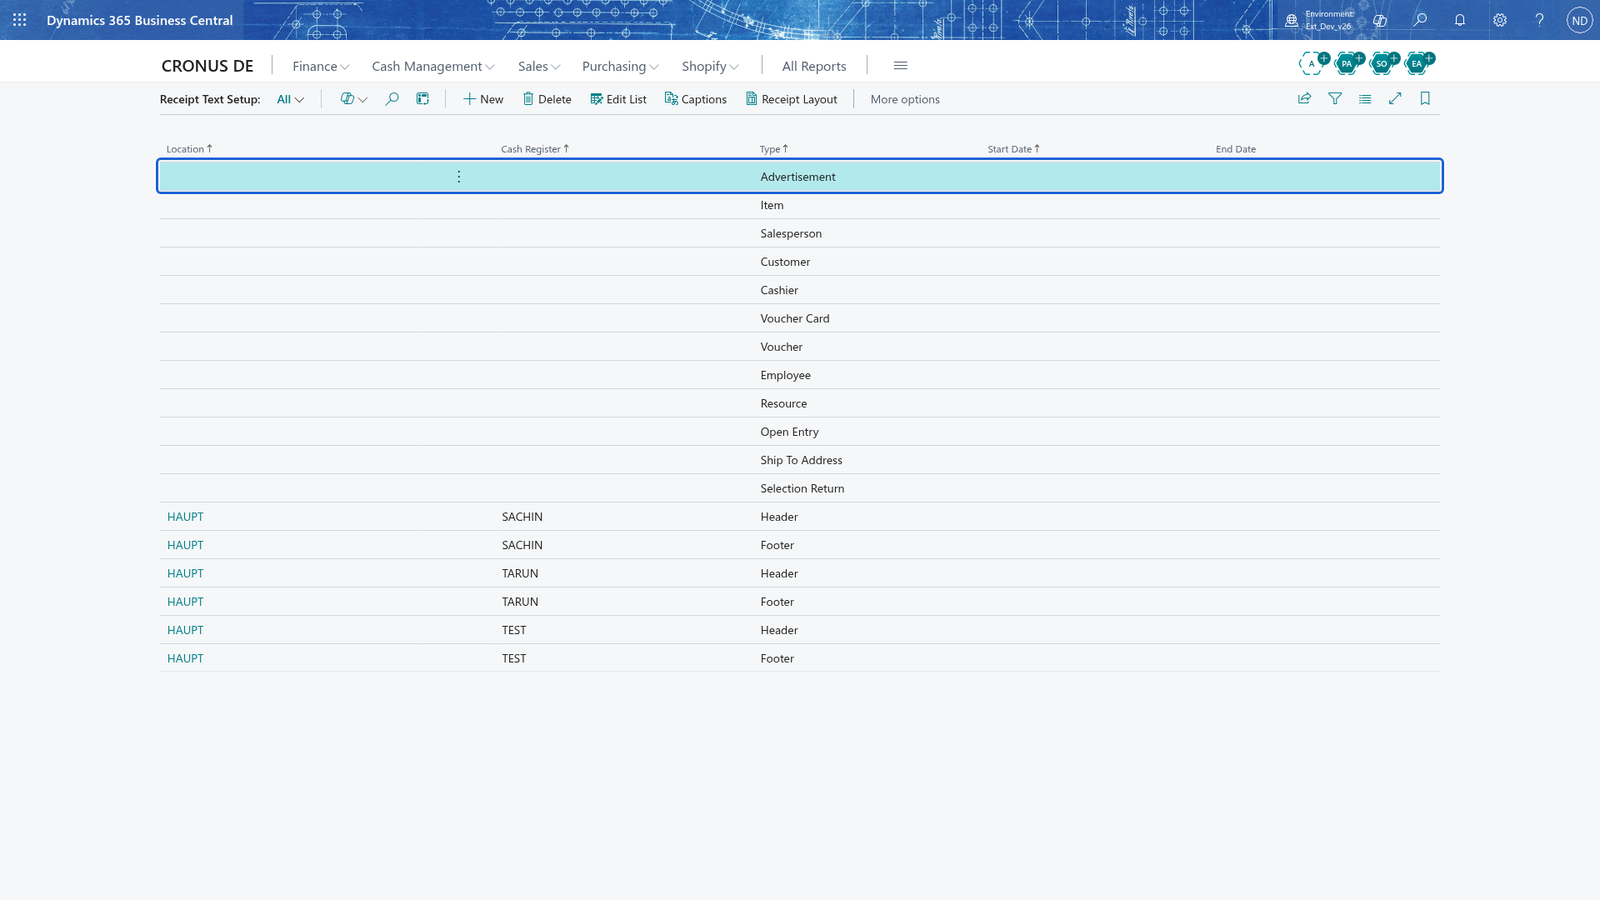
- Search for POS Role Center and open it.
- In the Setup group choose Receipt Text for the receipt texts and Receipt Layout for the layout lines of the receipt types.
- In the Archive group choose Receipt, Receipt Slip Search, Receipt Line Search, Data Log, Protocol Entry, Store Manager Entry and Archive; Backup is in the Setup group.
Enter the shop header and thank-you footer
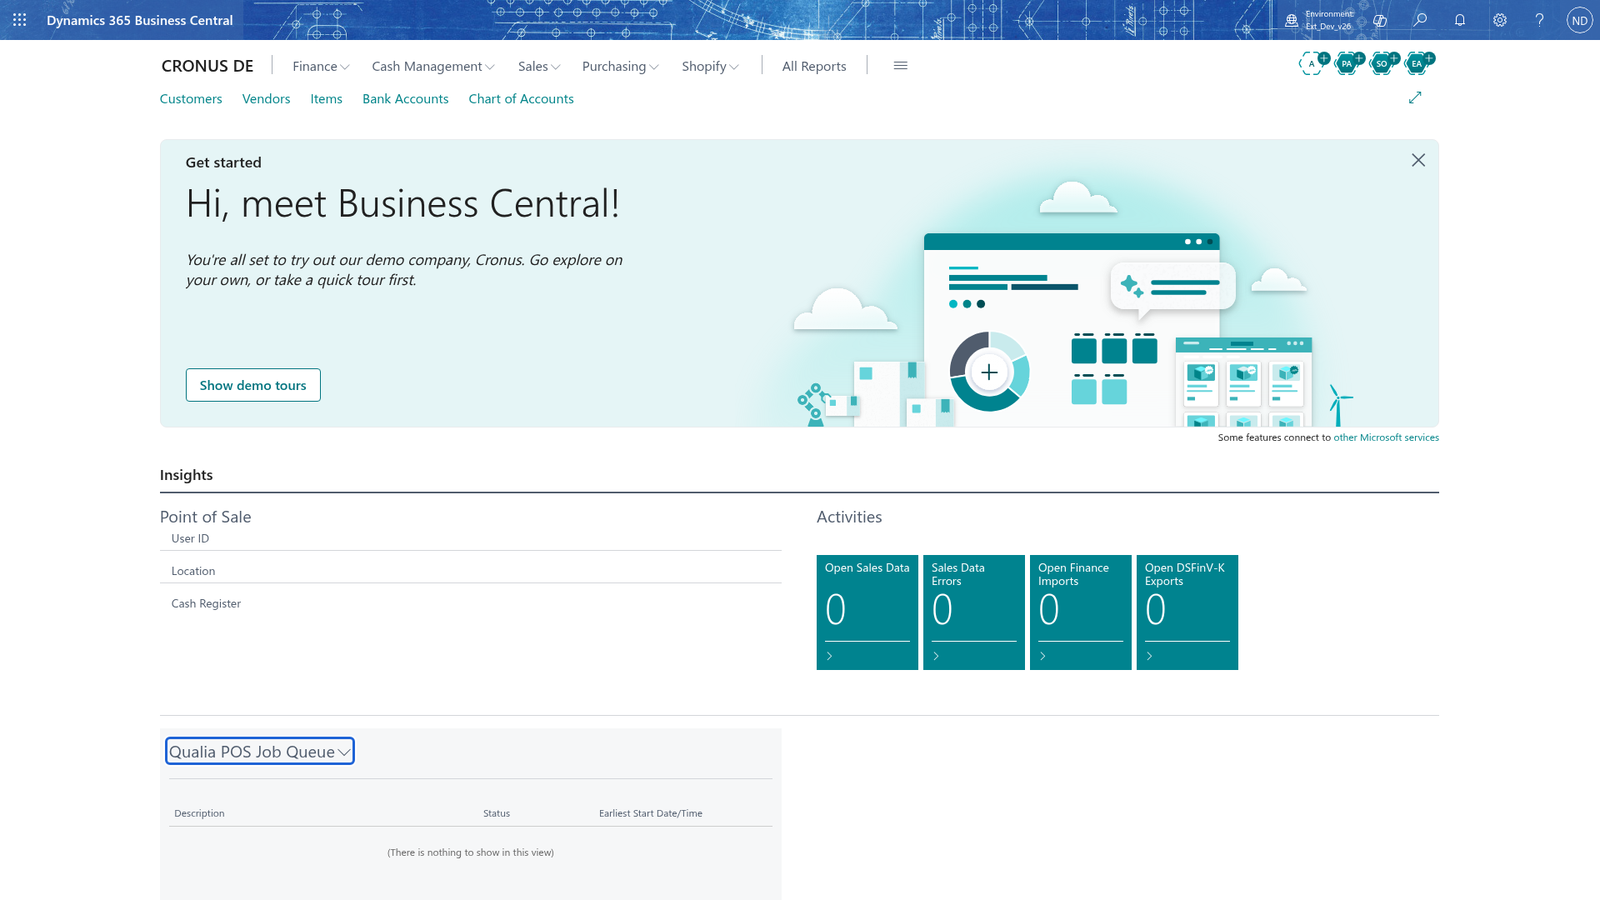
- Choose Receipt Text, then choose New on the Receipt Text Setup list.
- In Location, choose the register's location, for example HAUPT.
- In Cash Register, enter the register code, for example TEST.
- In Type, choose the kind of text: Header for the shop address above the receipt, Footer for the thank-you below the totals; Advertisement is for own advertising.
- In Start Date, enter the first day the text is printed, for example 16.03.2026; leave End Date empty to keep the text without a time limit.
- In the Lines part, enter one line at a time: Position sets the print order; in Content Type, choose Text; in Content Data, enter the text, for example the company for the header and Thank you for shopping with us! for the footer; set Alignment (centered looks best on a receipt) and Content Style.
- Close the card and choose New again for the second type.
Both texts for HAUPT/TEST are now listed with their validity period.
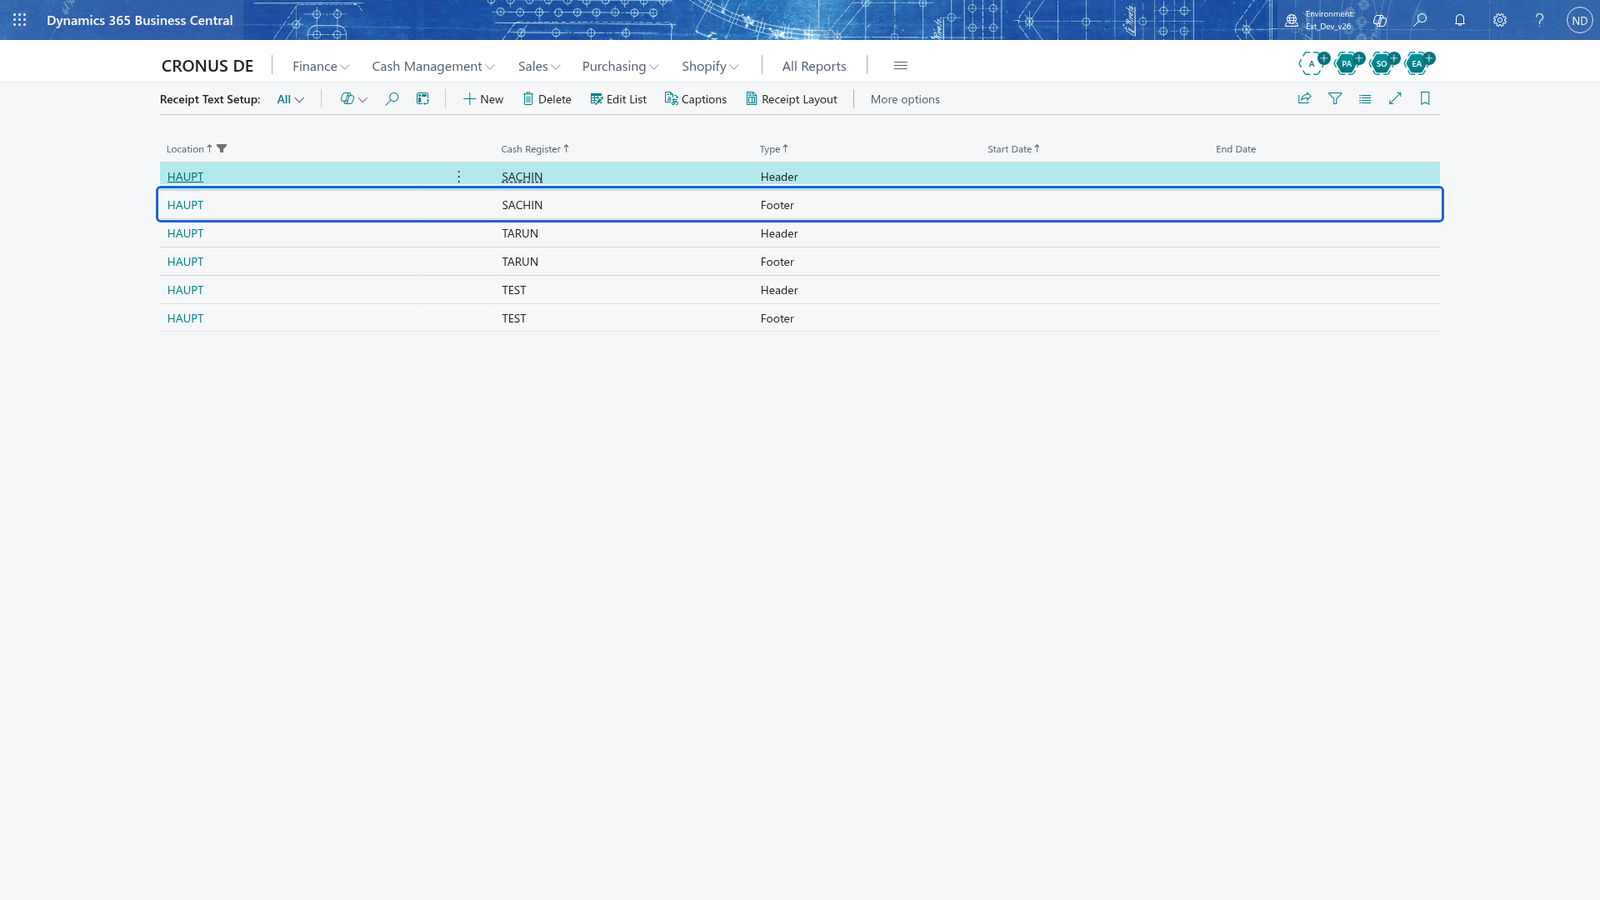
Note: The Start Date and End Date define the period in which the text is printed, so an advertisement can be set up in advance and expire by itself.
Check the printout with the receipt test
- In Receipt Text Setup, open the text you want to check.
- Choose Receipt test.
The text is printed to the register's receipt printer as a test receipt, without a sale, so you see how the header or footer will look before it reaches a customer.
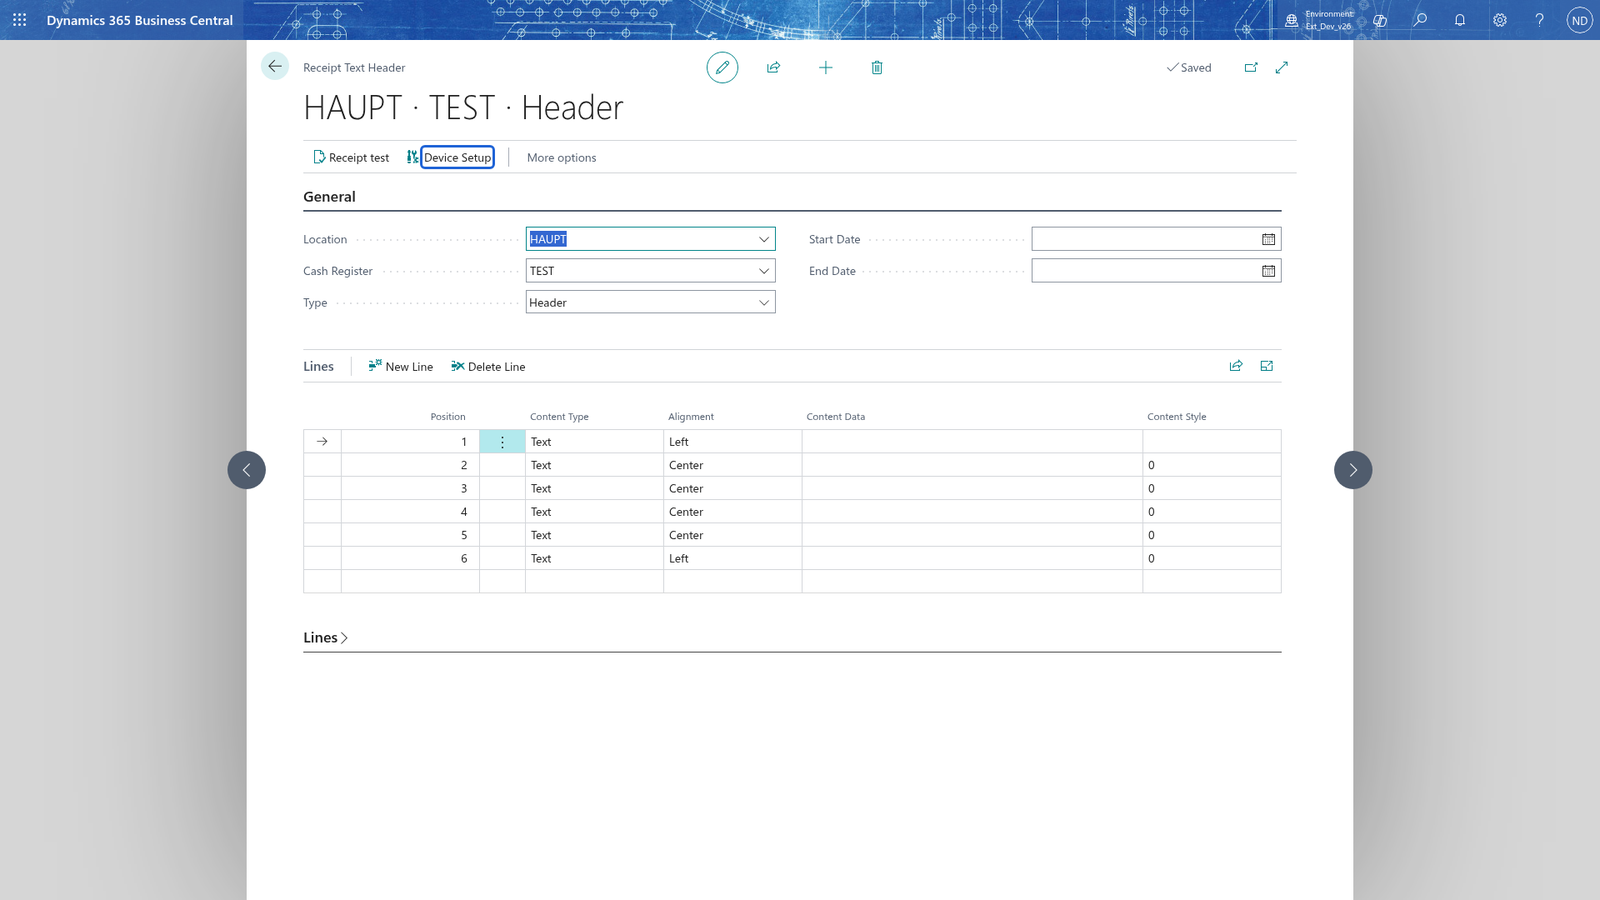
Note: The receipt test prints on the receipt printer of the cash register named on the card. If the cash register is not set up, you are told to set it up first.
Adjust which lines a receipt type prints
- On the POS Role Center, in the Setup group choose Receipt Layout; you can also open the card with the Receipt Layout action on the Receipt Text Setup list.
- In Layout Type, choose the receipt type whose lines you want to change.
- The lines for that receipt type appear below in print order. Each line has a line type, such as Header, Footer, Receipt Roll, Date Time, Fiscal Signature, Advertisement, Values or Empty Line.
- Select a line and choose Move Up or Move Down to change the position it prints in.
- To add a line, choose New Line and pick a line type that is valid for the receipt type; the new line is added below the line you were on.
- To remove a line, select it and choose Delete Line.
- Choose Reset to bring the receipt type you are on back to its default lines, or Reset all to do this for every receipt type.
A line that is printed in bold is a mandatory line of the receipt type: you can move it with Move Up / Move Down, but you cannot delete or change it.
Note: Only line types valid for the selected receipt type are offered, so a receipt keeps the lines it must print (such as the fiscal signature).
Find a receipt and reprint it
- Choose Receipt in the Archive group to open the Receipt List: filter by Location, Cash Register, Date or Customer No. and open a receipt.
- Choose Reprint to print it again; if the receipt has no slip yet, Recreate creates it.
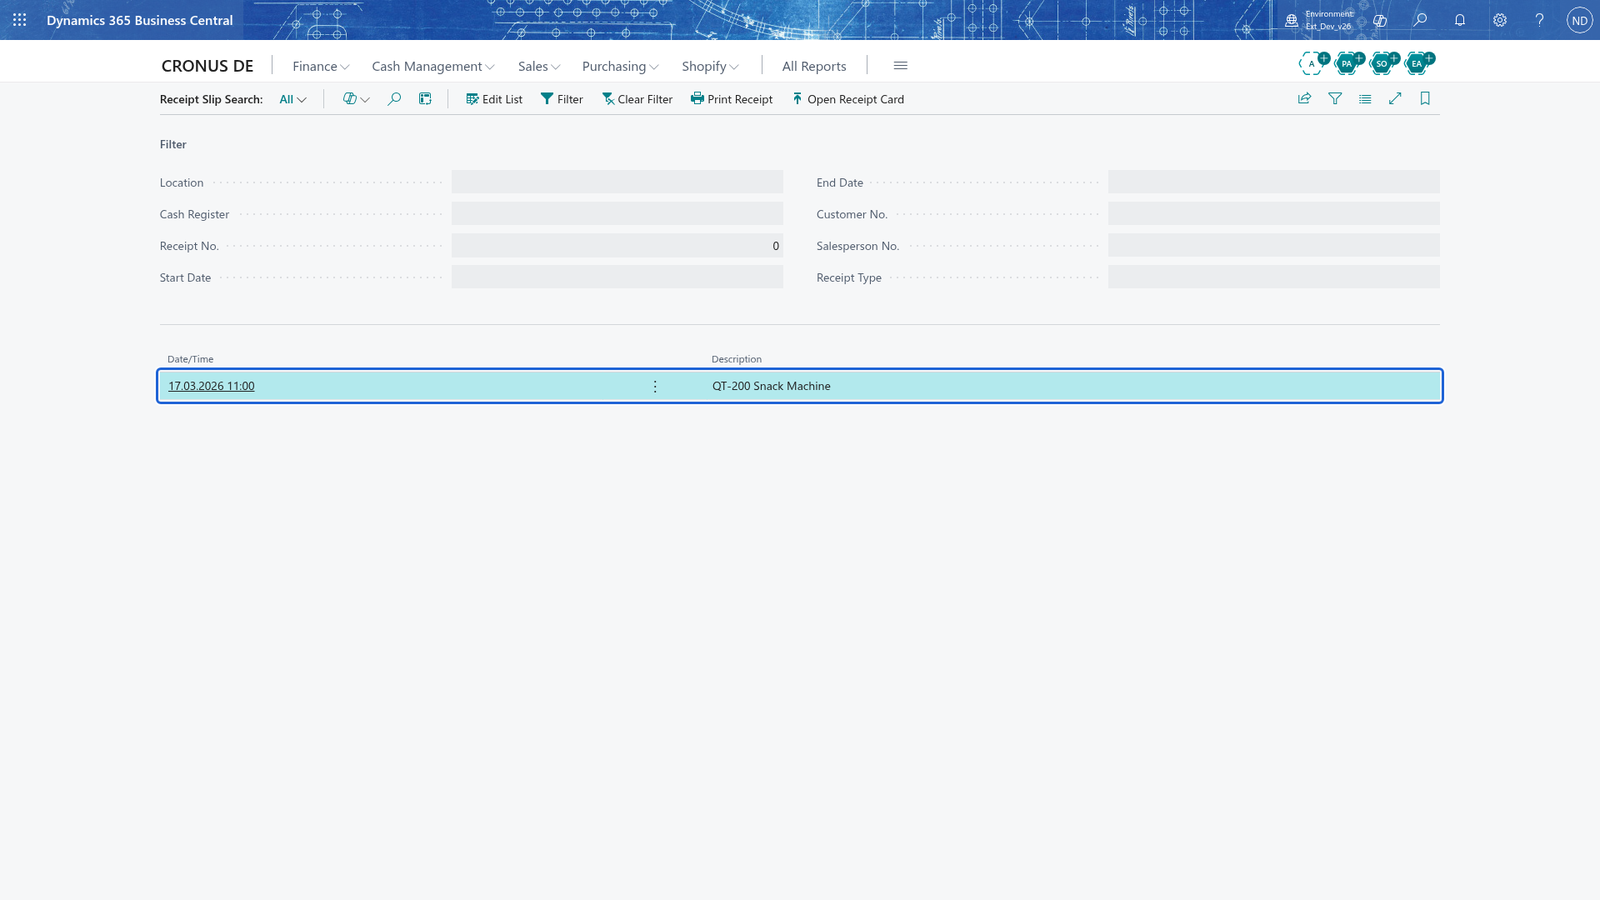
- To search by content, use Receipt Slip Search: enter Location, Cash Register, and if you know it Receipt No., the dates or the Customer No., then choose Filter; the roll lines of the receipts found show their Date/Time and Description.
- Choose Print Receipt to reprint, or Open Receipt Card to look at the receipt; Receipt Return starts a return of the receipt.
A receipt is always stored with its roll, and the roll lines are exactly what the search and reprinting work from.
Note: When the customer disputes a specific article, search the lines instead of the slip: Receipt Line Search shows the sale, payment and discount lines together for filters such as Item No., Customer No. or Salesperson Code.
Set up the backup
- Choose Backup and open the backup setup list.
- Create a new line: in Code, enter a code, for example SETUP, and a Description.
- In Mode, choose Configuration to back up the setup, Archiving for archived entries or Migration.
- In Type, choose Export, and in Format, choose XML, JSON or CSV.
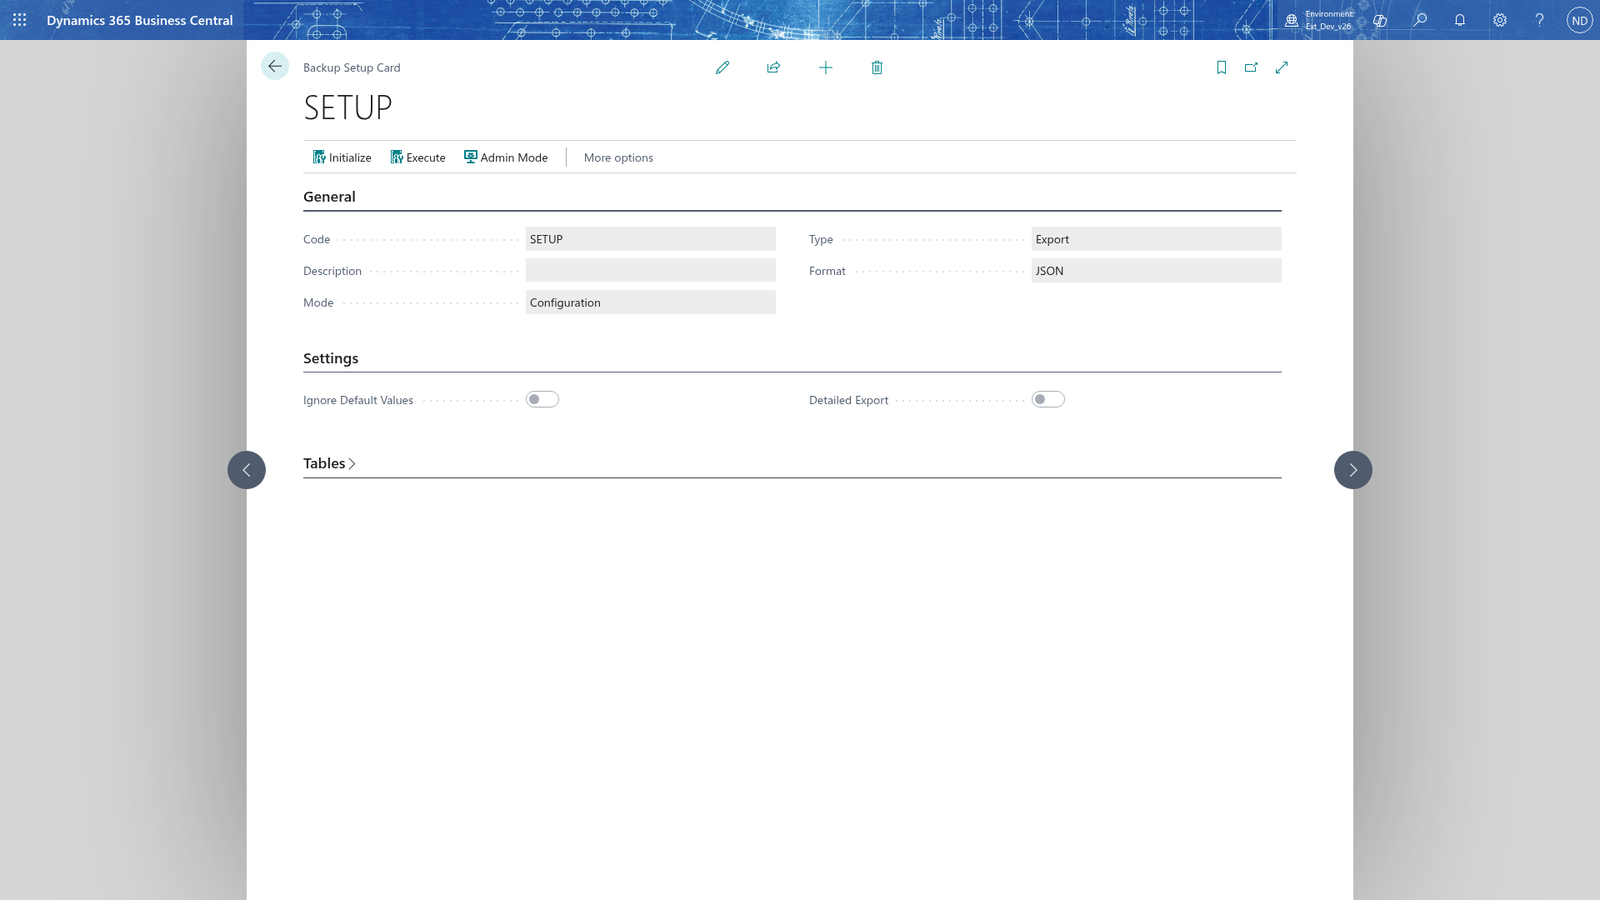
- Choose Initialize; the Tables part below the settings then lists the tables of this mode.
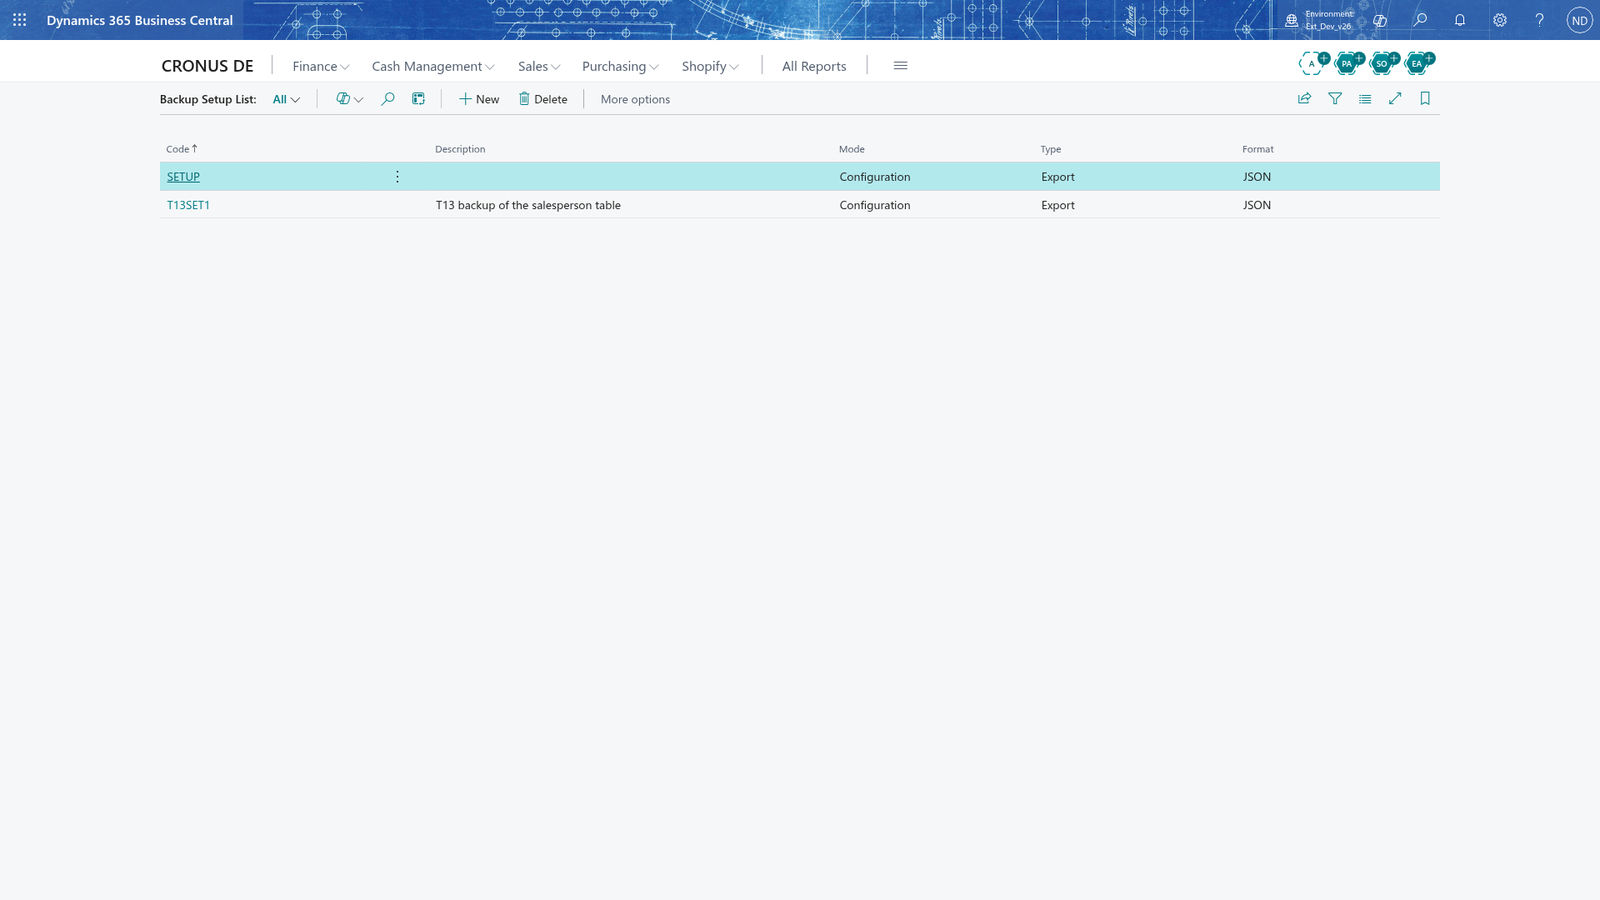
Note: Tables can only be added to a backup setup that already exists, so save the setup before you turn on tables.
Choose which tables the backup covers
In the Tables part of the card, turn on Active for each table that should be exported or imported; the table's No. and Name tell you what it is.
Run the export or import
- On the backup setup card, choose Execute.
An export writes the active tables to a ZIP file in your downloads; an import takes the file in and loads the data. 2. For an import, decide how existing records behave under Existing Data. 3. For the Archiving mode you can narrow the data with Location Filter, Cash Register Filter, Start Date Filter and End Date Filter, so only one register or one period is exported. 4. If you need Ignore Field Validation or Delete Table Data, first choose Admin Mode and enter the password.
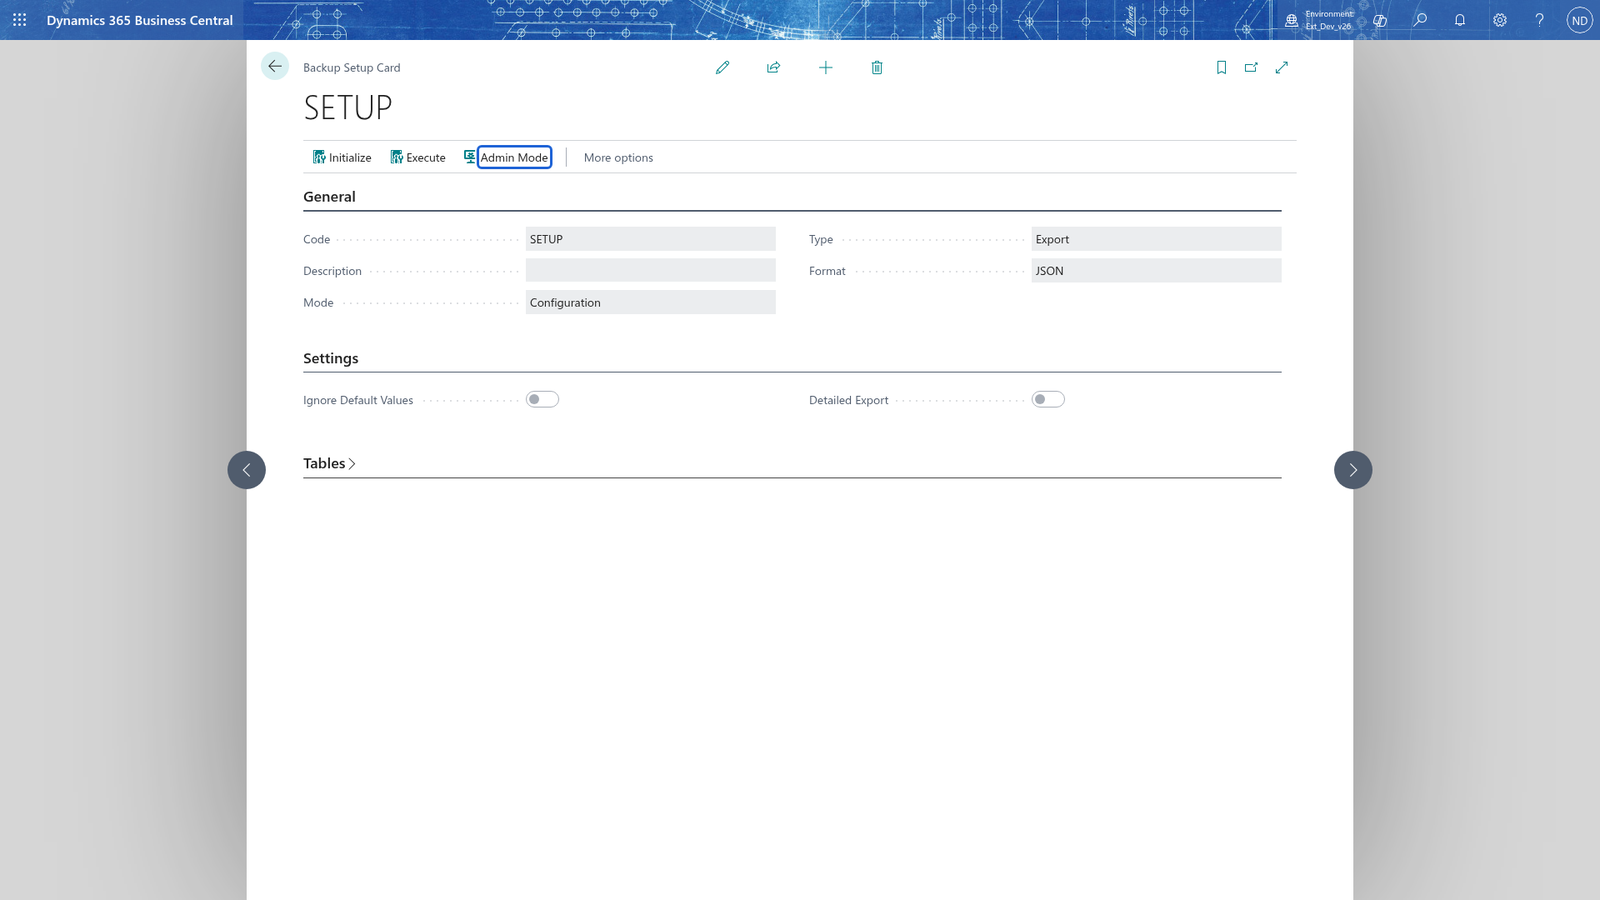
Note: Ignore Field Validation and Delete Table Data are protected settings and are only editable in the password-protected admin mode; Delete Table Data empties the table before the import.
Review and undo archived receipts
When old receipts are archived, they stay available in Archive: each entry shows its ID, Date/Time, Identification Code and Identification Type, the Record Info and who created it (Created By, Created At). If a receipt was archived by mistake, select its entry and choose Reset; confirm, and the records with that archive ID are de-archived.
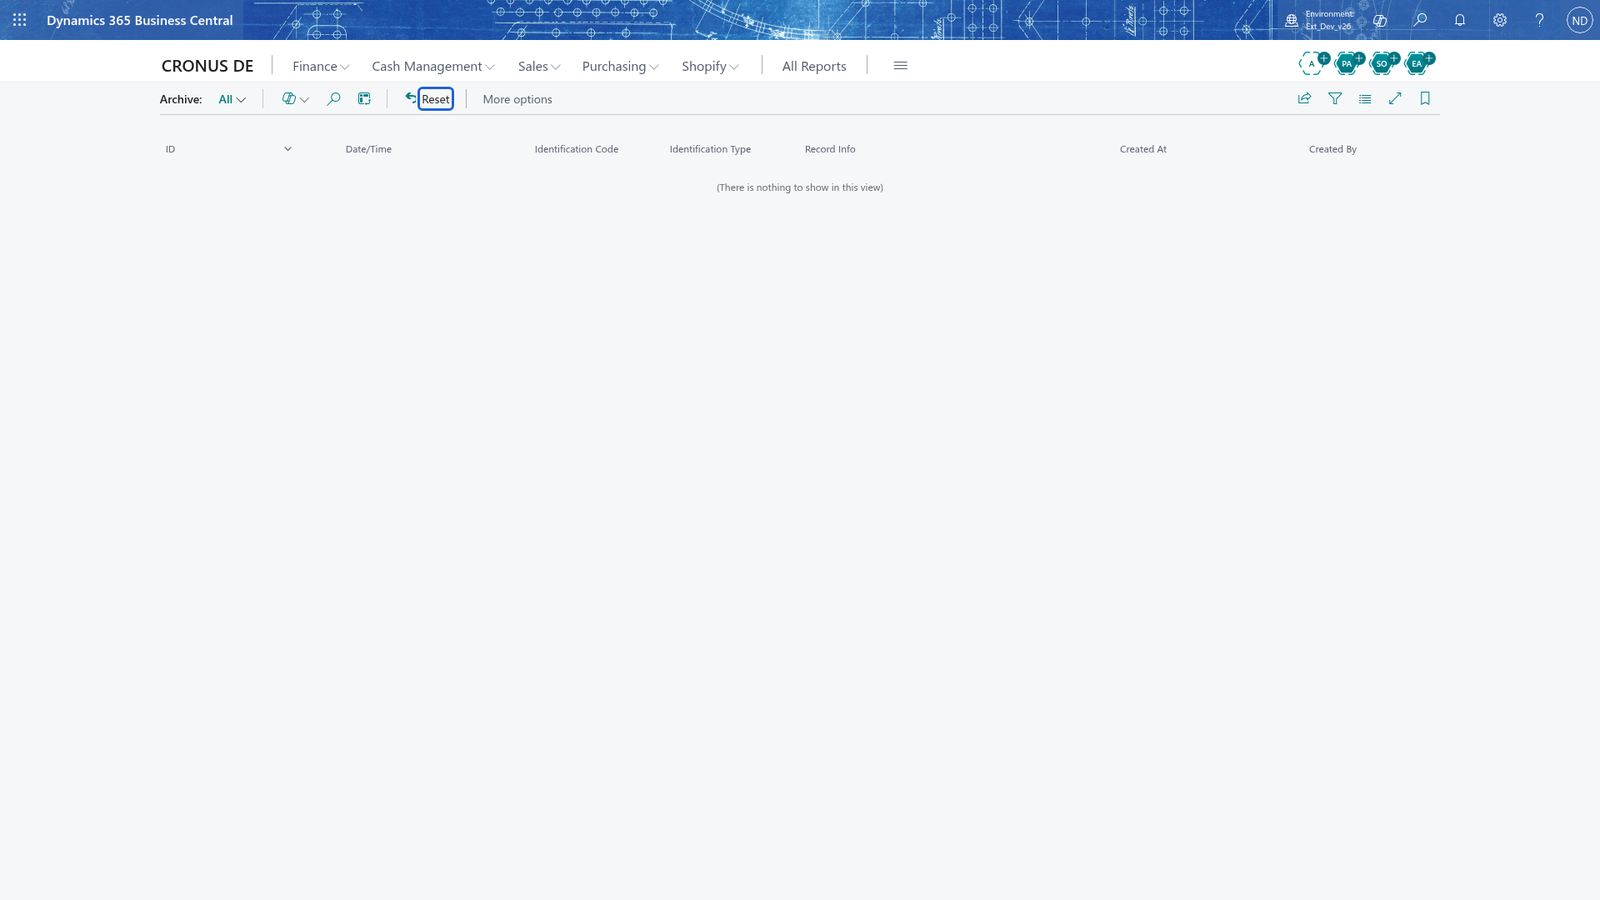
The same Archive group holds what the registers logged about themselves:
- Data Log lists what the POS logged (module, receipt ID, date, time, type and the entry text). Choose Download to hand a file of the filtered entries to support, and Delete old entries to remove entries older than the retained period.
- Protocol Entry List is the technical log of what the registers did (action, action data, process and receipt number, with the Duration of each action).
- Store Manager Entry shows which setup field was changed, by whom, with the Old Value and New Value (drill down to read the full value); Reset undoes all changes of the selected Change ID.
What happens
- Receipt texts are stored per cash register, type and validity period and are printed with every receipt of that register. A text line that carries a translation code is kept in several languages: choose Captions on the Receipt Text Setup list and enter the text per language.
- The Receipt Layout card stores the lines of each receipt type; Reset returns them to the default.
- Each receipt is stored with its Receipt Roll (the printed lines) and its slip; the receipt list, slip search and line search read from these, and Reprint and the reports print from them again.
- Execute on a backup setup writes the active tables as XML, JSON or CSV into a ZIP file (export) or loads such a file (import).
- Archived receipts stay in the Archive list until Reset de-archives them. The data log, protocol entries and store manager entries are written by the registers as they work; the store manager entries can be undone per change ID.
If something goes wrong
- The cash register HAUPT TEST is not set up. (when you choose Receipt test): the register on the text card has no cash register setup. Create it in the chapter Set up the point of sale first, then run the test again.
- This receipt text has no lines with a translation code. Enter a translation code on the lines first.: Captions can only translate lines that carry a translation code; enter one on the lines of the text and choose Captions again.
- The line Date Time is mandatory for this receipt type and cannot be deleted or changed. (on the Receipt Layout card): bold lines are mandatory. Move them with Move Up / Move Down instead of deleting them.
- The administrator mode needs administrator rights (SUPER). (on the backup setup): only a user with administrator rights can use Admin Mode and the protected import settings.
- No archives were found for the ID 1_1_7. (after Reset in Archive): no archived record has this archive ID; the entry may already be de-archived. Refresh the list.
- Delete old log entries? Only entries older than the retained period are deleted. (on Data Log): confirm to remove the old entries, or choose No to keep them.