Vehicle documents and insurance
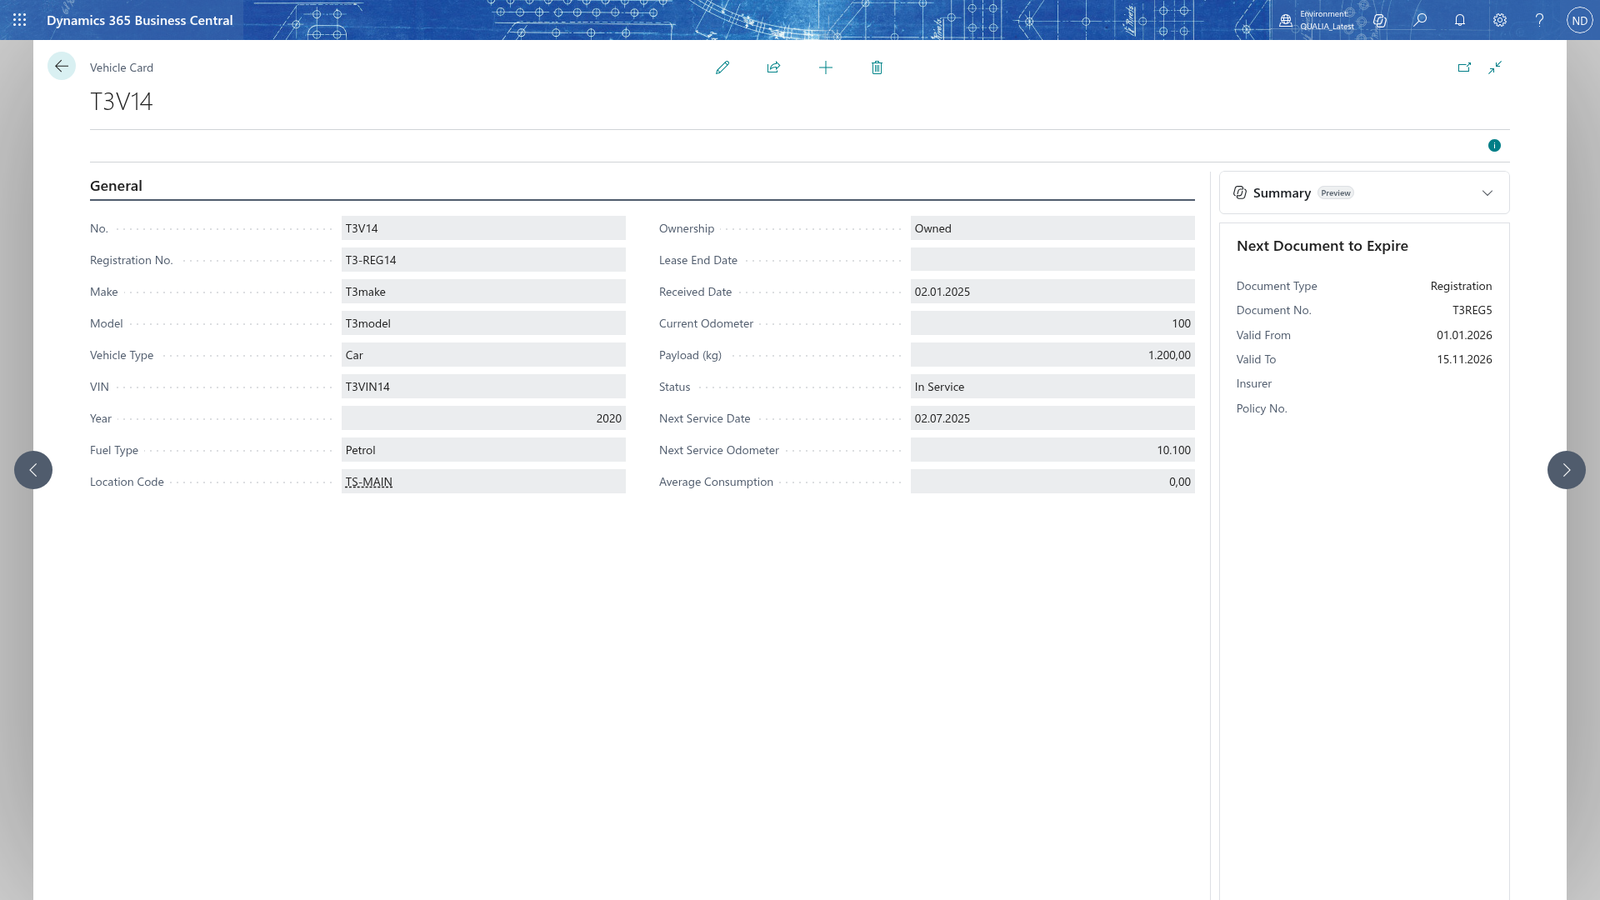
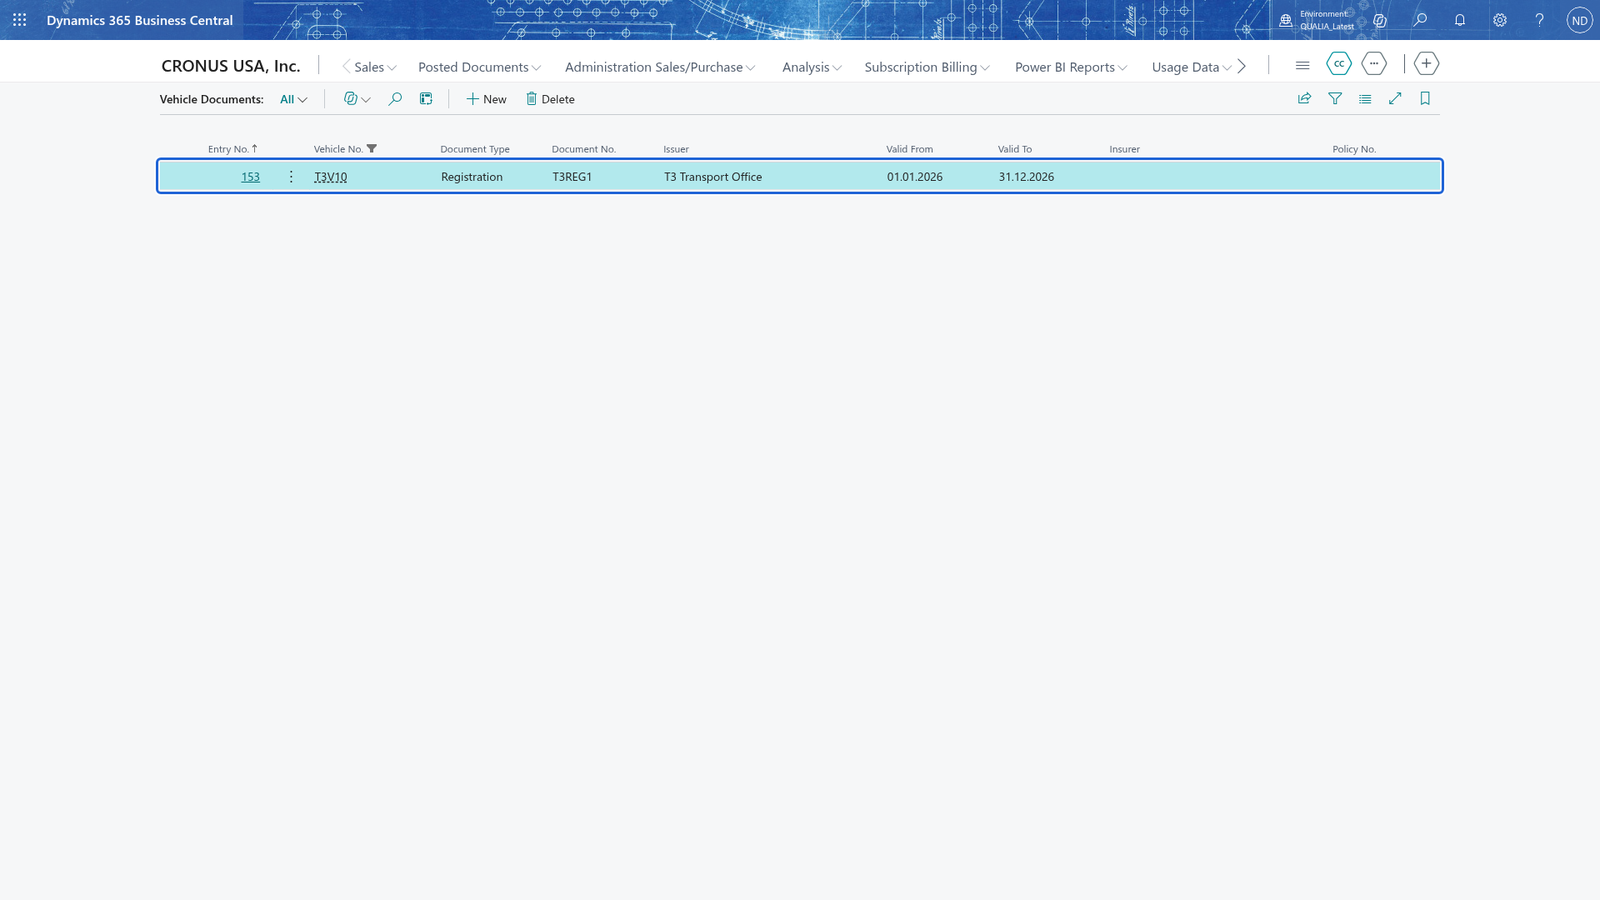
Every vehicle has its own documents: insurance policies, registration certificates and inspection certificates. You enter them on the Vehicle Documents list: choose the search icon, enter Vehicle Documents, and choose the matching link. Documents whose validity is about to expire show up on the Doc. to Renew list, and the Vehicle Card shows the vehicle's document that expires first in the Next Document to Expire FactBox.
Every trip and every route needs an insurance document of the vehicle that is valid on the trip's or route's date. If posting a trip reports that the vehicle has no insurance document valid on that date, add an insurance document for the vehicle as described in "Add an insurance document to a vehicle" and post the trip again. How you enter and post a trip is explained in "Record and post trips in the vehicle logbook".
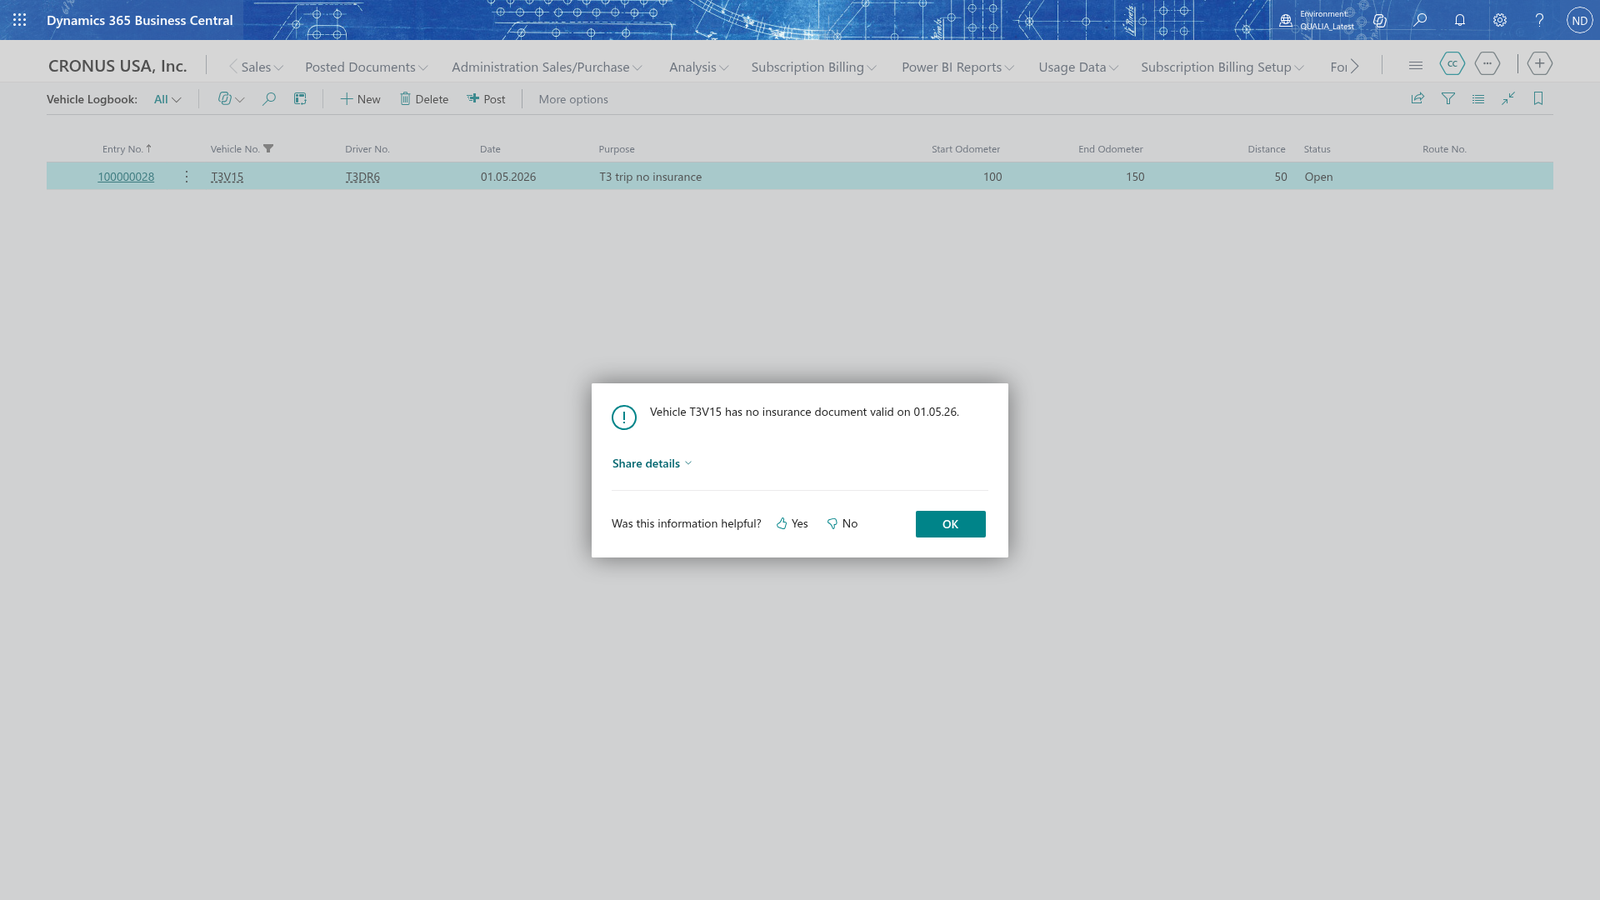
Note: An insurance document only counts when it is valid on the date: Valid From <= trip or route date <= Valid To. An insurance that has already expired doesn't make a trip or route possible. The same rule applies to routes.
Add a registration document to a vehicle
- Choose the search icon, enter Vehicle Documents, and choose the matching link.
- Choose New.
- In Vehicle No., choose the vehicle the document belongs to.
- In Document Type, choose Registration.
- In Document No., enter the number of the document.
- In Issuer, enter the name of the authority that issued the document.
- In Valid From, enter the date from which the document is valid.
- In Valid To, enter the date until which the document is valid.
- Close the card. The document appears on the Vehicle Documents list.
Add an insurance document to a vehicle
- Choose the search icon, enter Vehicle Documents, and choose the matching link.
- Choose New.
- In Vehicle No., choose the vehicle.
- In Document Type, choose Insurance.
- In Document No., enter the number of the document.
- In Issuer, enter the name of the issuer.
- In Valid From, enter the date from which the insurance is valid.
- In Valid To, enter the date until which the insurance is valid.
- In Insurer, enter the name of the insurance company.
- In Policy No., enter the insurance policy number.
- Close the card. The insurance document appears on the Vehicle Documents list.
Note: For Document Type Insurance, Insurer and Policy No. are required. If you enter an Insurer or Policy No. on a Registration or Inspection document, the app refuses it with "Only an insurance document has an insurer and a policy number. Remove them or set the document type to Insurance."
Valid To must be later than Valid From
- Choose the search icon, enter Vehicle Documents, and choose the matching link.
- Choose New, or select an existing document and open it.
- In Valid From, enter the start date of the validity period.
- In Valid To, enter a date that is earlier than or the same as Valid From. The app refuses this and shows the message "Valid To must be later than Valid From".
- In Valid To, enter a date later than Valid From. The document can now be saved.
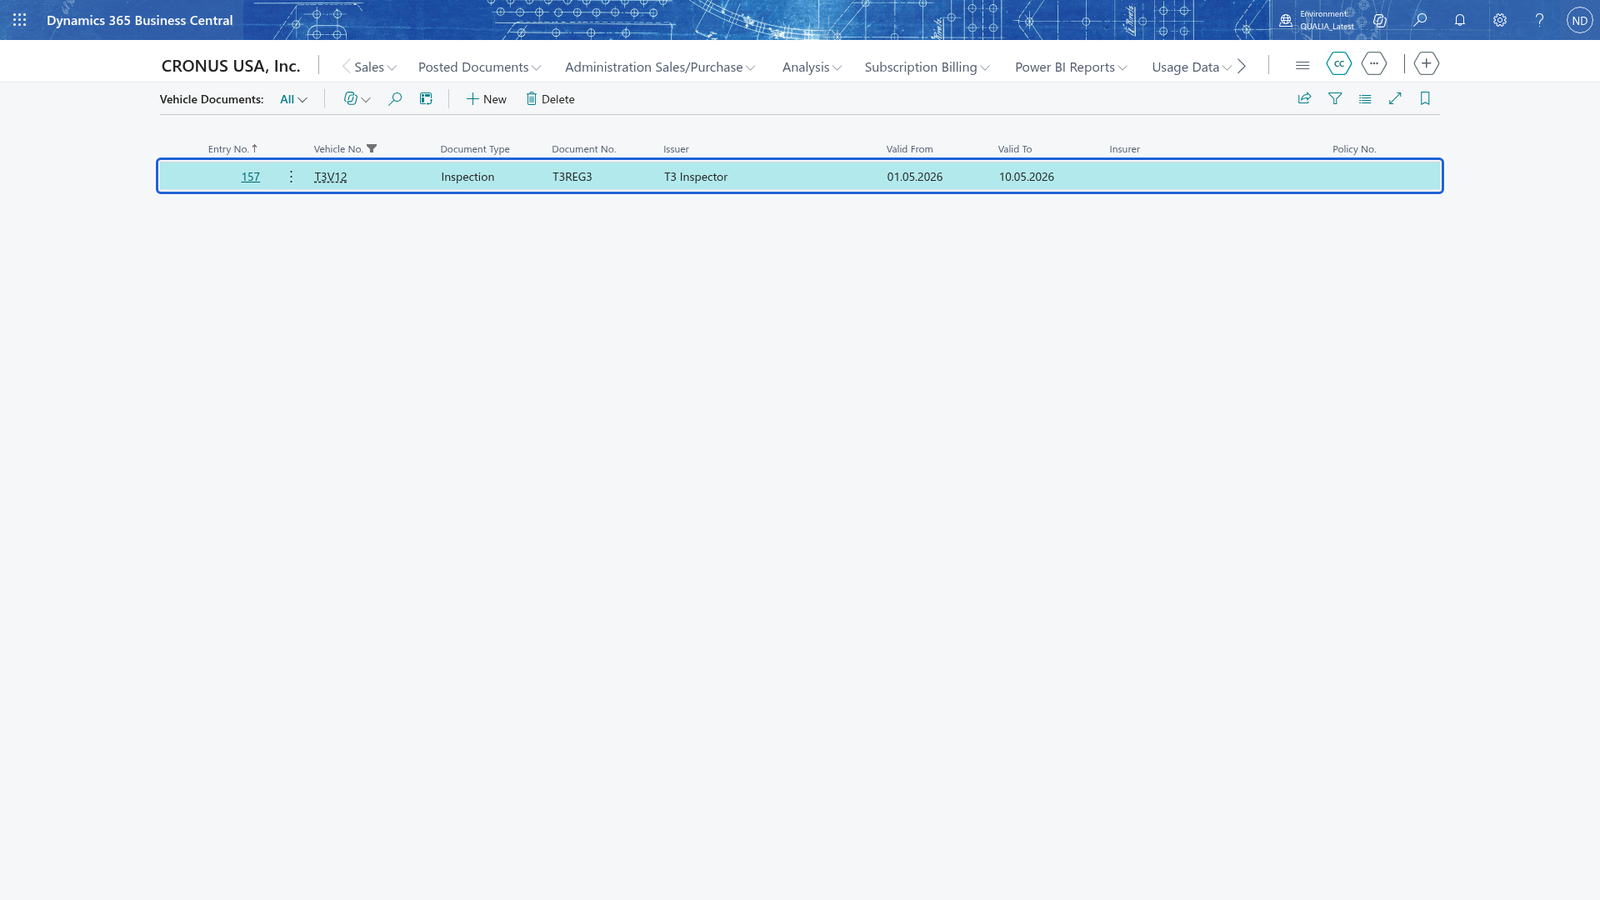
See which documents are about to expire
- Choose the search icon, enter Doc. to Renew, and choose the matching link.
- The list shows every document whose Valid To falls within the warning period, and every expired document.
- To renew a document, double-click the document to open its card, enter a Valid To later than the warning period (for example more than 30 days ahead when the Fleet Setup warns 30 days before), and close the card. You can keep the same Document No.
- The document no longer appears in the list.
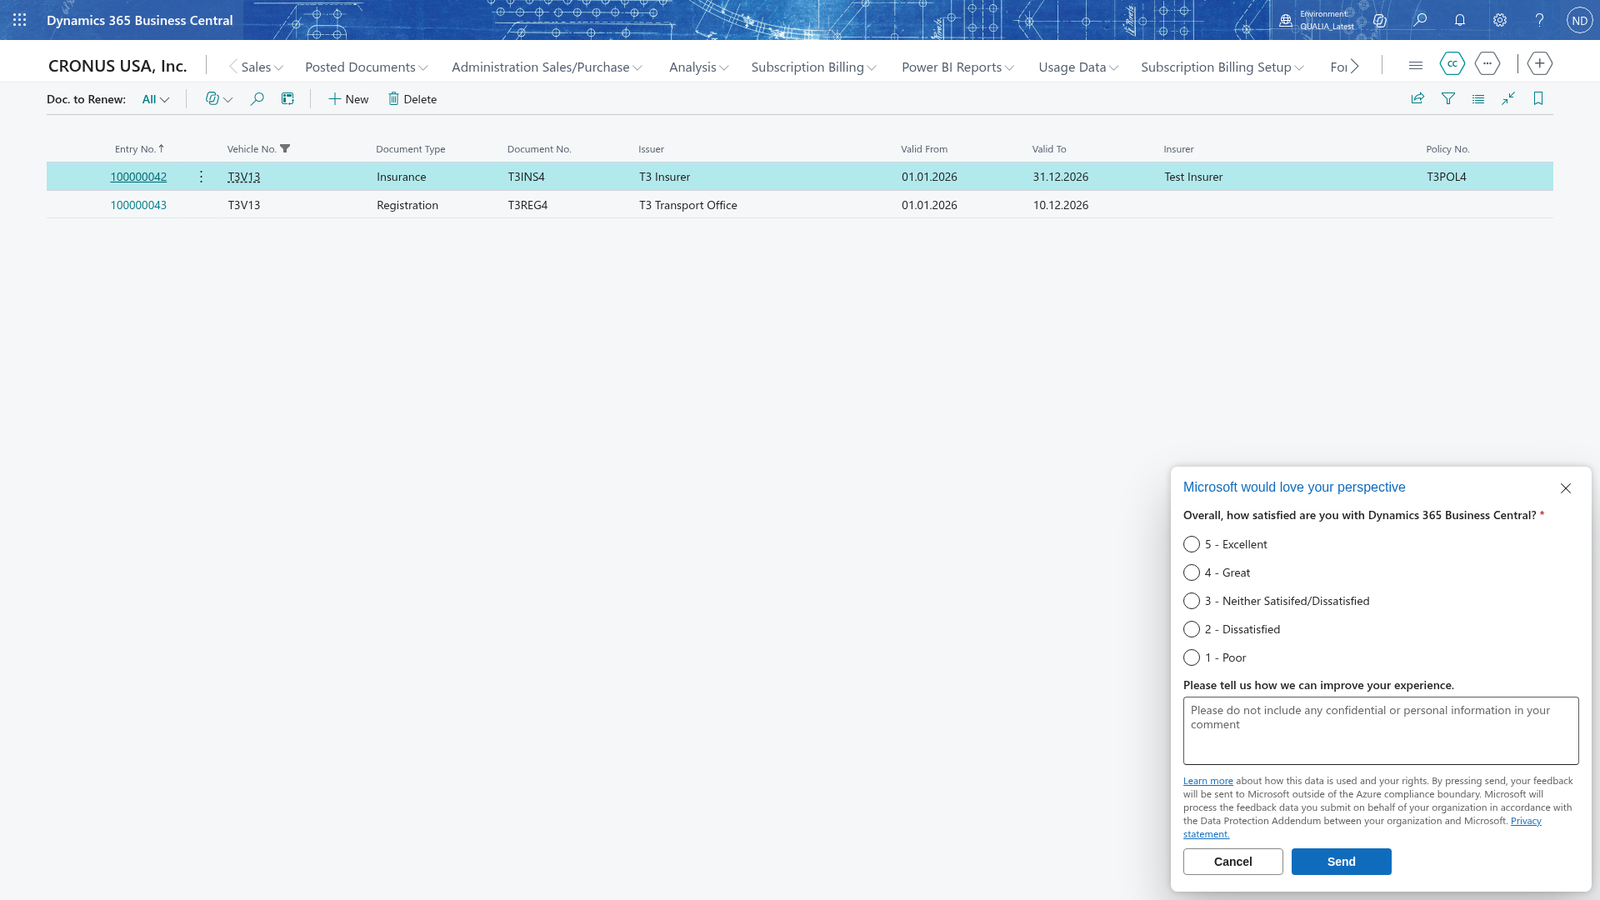
Note: The warning period is set on the Fleet Setup page and its default is 30 days. Only documents that expire within that period, and documents that have already expired, are listed.
Note: You renew a document by changing its Valid To (the same Document No. can be kept) or by creating a new document; you don't have to keep the history of a document.
See the next document to expire on the Vehicle Card
- Choose the search icon, enter Vehicles, and open the vehicle's card.
- The Next Document to Expire FactBox on the right shows the document of the vehicle that expires first: its Document Type, Document No., Valid From and Valid To, and Insurer and Policy No. when filled in.
- When the vehicle has no documents, the FactBox stays empty.