
Teams and the workflow
Maria Lopez sets up the onboarding of new vendors: purchasing checks, finance approves.
Create the teams
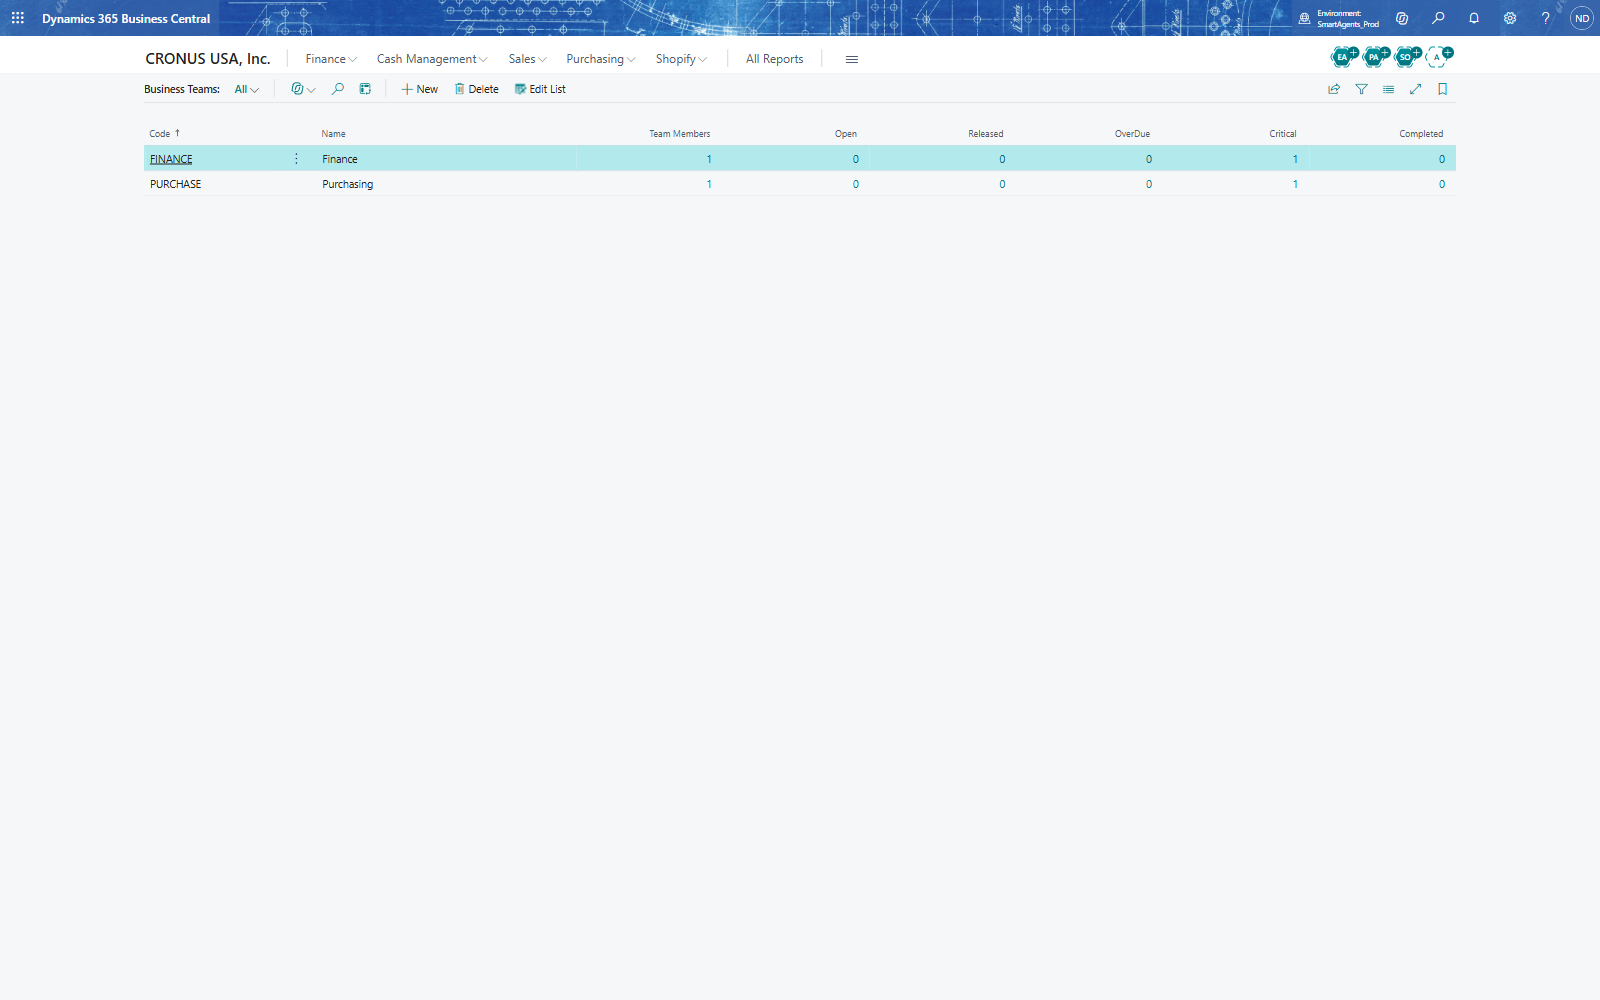
- Search for Business Teams and choose New: Code PURCHASE, Name Purchasing. Create FINANCE "Finance" the same way.
- On each team, add its members (Business Team Members, User Id).
The list shows per team the number of members and of open, released, overdue, critical and completed tasks.
Create the workflow
- Search for QUA Workflows and choose New.
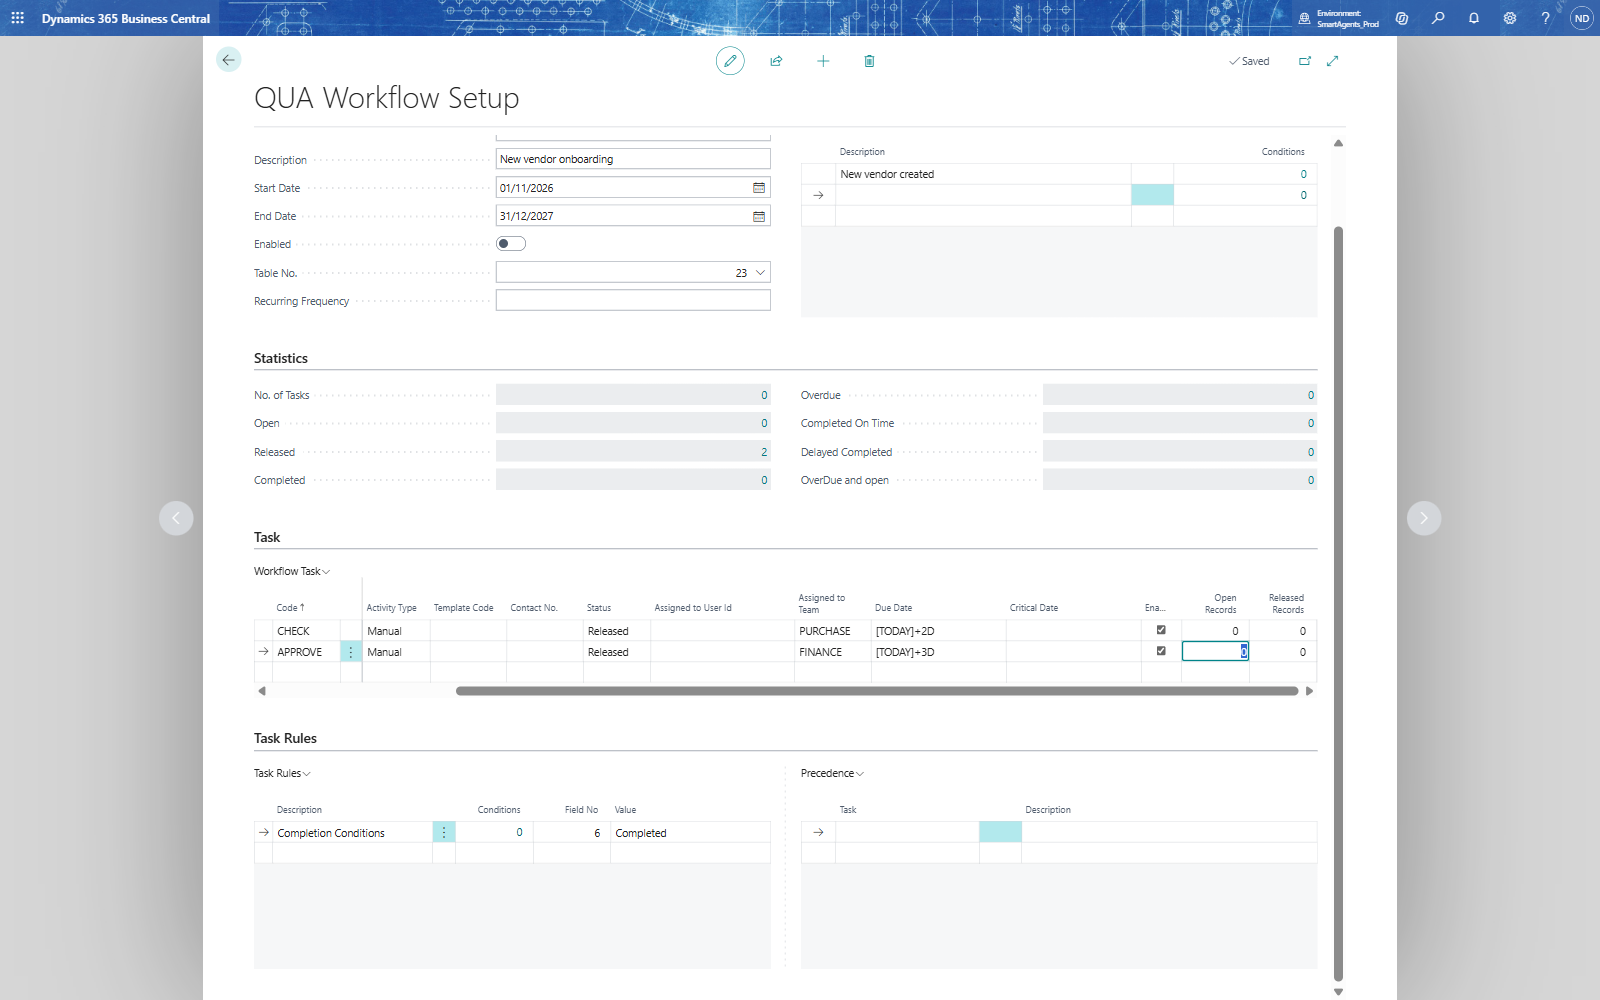
- Fill in No. WF-VEND, Description New vendor onboarding, Table No. 23 (Vendor), Start Date 01/11/2026 and End Date 31/12/2027.
- In Initiated By, on the first line, enter the Description New vendor created. Without conditions, every new vendor starts the workflow.
- In Workflow Task, enter the two tasks:
| Code | Description | Activity Type | Status | Assigned to Team | Due Date |
|---|---|---|---|---|---|
| CHECK | Check bank account and tax details | Manual | Released | PURCHASE | [TODAY]+2D |
| APPROVE | Approve the vendor for payments | Manual | Released | FINANCE | [TODAY]+3D |
- Turn on Enabled on each task line.
Due Date takes an expression: [TODAY]+2D is two days after the day the workflow starts for a vendor. Status Released makes the task ready to work on as soon as the workflow starts. Each task gets its own Task Rules (Completion Conditions) below.
Switch it on
- On the workflow, turn on Enabled.
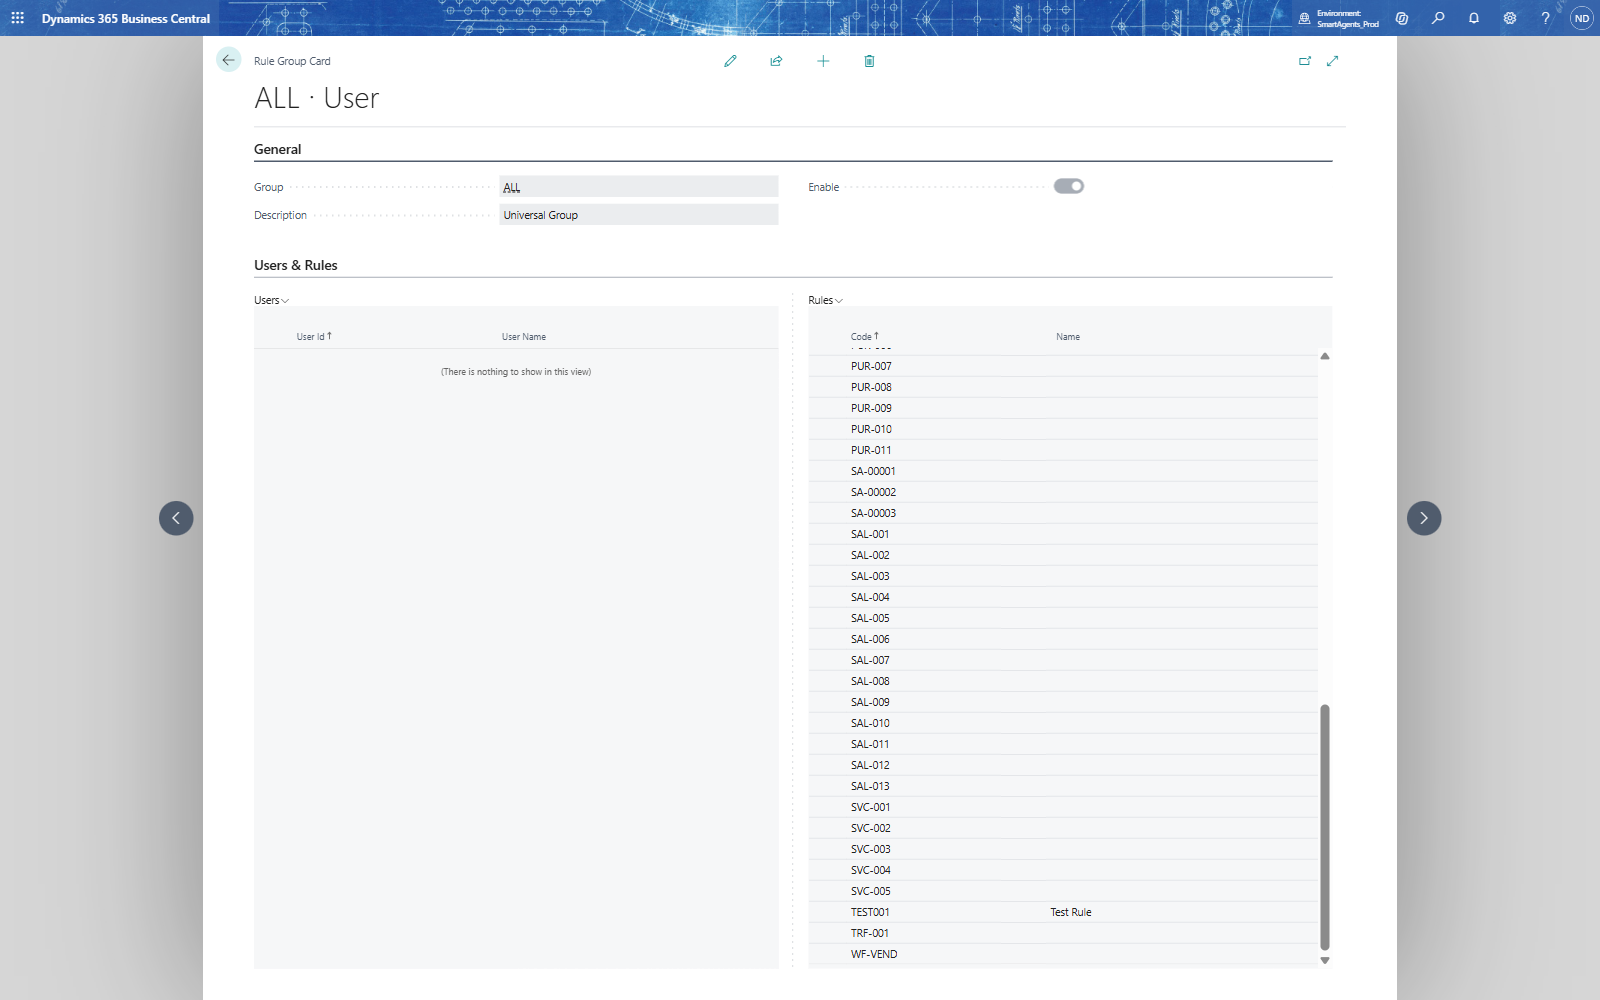
- Search for Rule Groups, open the group ALL and add the rule WF-VEND in Rules - the rule set with the workflow's number is what starts it, and like every rule it runs only in an enabled rule group.
If something goes wrong
- A new vendor starts nothing: check Enabled on the workflow, the validity period (today between Start Date and End Date, both filled in), the rule group, and Enable Workflow on Business Rule Setup.