
Advanced Allocations worksheet
The Advanced Allocations worksheet calculates the journal lines that share a cost booked once in the general ledger over the departments that use it. A cost such as electricity or rent sits on one account, but every department should carry its part; instead of estimating the split by hand each month, you point the worksheet at a source - posted G/L entries or posted statistical entries such as headcount or floor space - and the app builds one allocation line per dimension value on the target account. At QUALIA Technik GmbH Monika Vogel (financial accountant) runs it at the end of every month to share electricity and facility rent over PROD, SALES, ADMIN and IT; Timo Schulz (controller) keeps the General Journal batches that carry the allocation source up to date. You define the source once on the batch, enter the period on the worksheet, choose Calculate Allocation, check the lines and post them through the General Journal.
Before you start
- Turn Advanced Allocations on for the company; see Turn on Advanced Allocations for the company in the setup chapter of the opening of this guide.
- In standard Business Central, the G/L accounts exist and can be posted to - here
6510Electricity (source) and6800Allocated Costs (target) - and the global dimension DEPARTMENT has the valuesPROD,SALES,ADMINandIT. - Create the General Journal template and batches that will carry the allocation lines: on General Journal Batches choose New, enter template name
ADVALLOCwith the description Advanced Allocations, then create the batchesFACILITY(description Facilities) andSPACE(description Facility space) on that template and fill in the allocation source of each batch; see Set up the allocation source on the General Journal batch below and the setup chapter in the opening of this guide. - For a Statistical source, post the statistical journal for the period first, so the entries are in Statistical Ledger Entries.
- If the source amounts come from an analysis view, create it on Analysis Views first: on the card set Account Source to G/L Account, leave Account Filter and Start Date empty, set Date Compression to None, enter the source dimensions on the Dimensions fast tab and turn on Update on Posting, so the view keeps up with the posted entries.
Note: Each batch decides where its allocation comes from: Statistical (posted statistical entries such as headcount) or G/L Account (actual posted G/L entries); use one of these two on a worksheet batch. The source fields on the worksheet - Source Type, Source No., Source Dimension 1 Code, Source Fund, Source Dimension 2 Code, Source Fund 2, Target G/L Account and Analysis View - are read-only: they copy the values from the batch, so change the source on the batch, not on the worksheet.
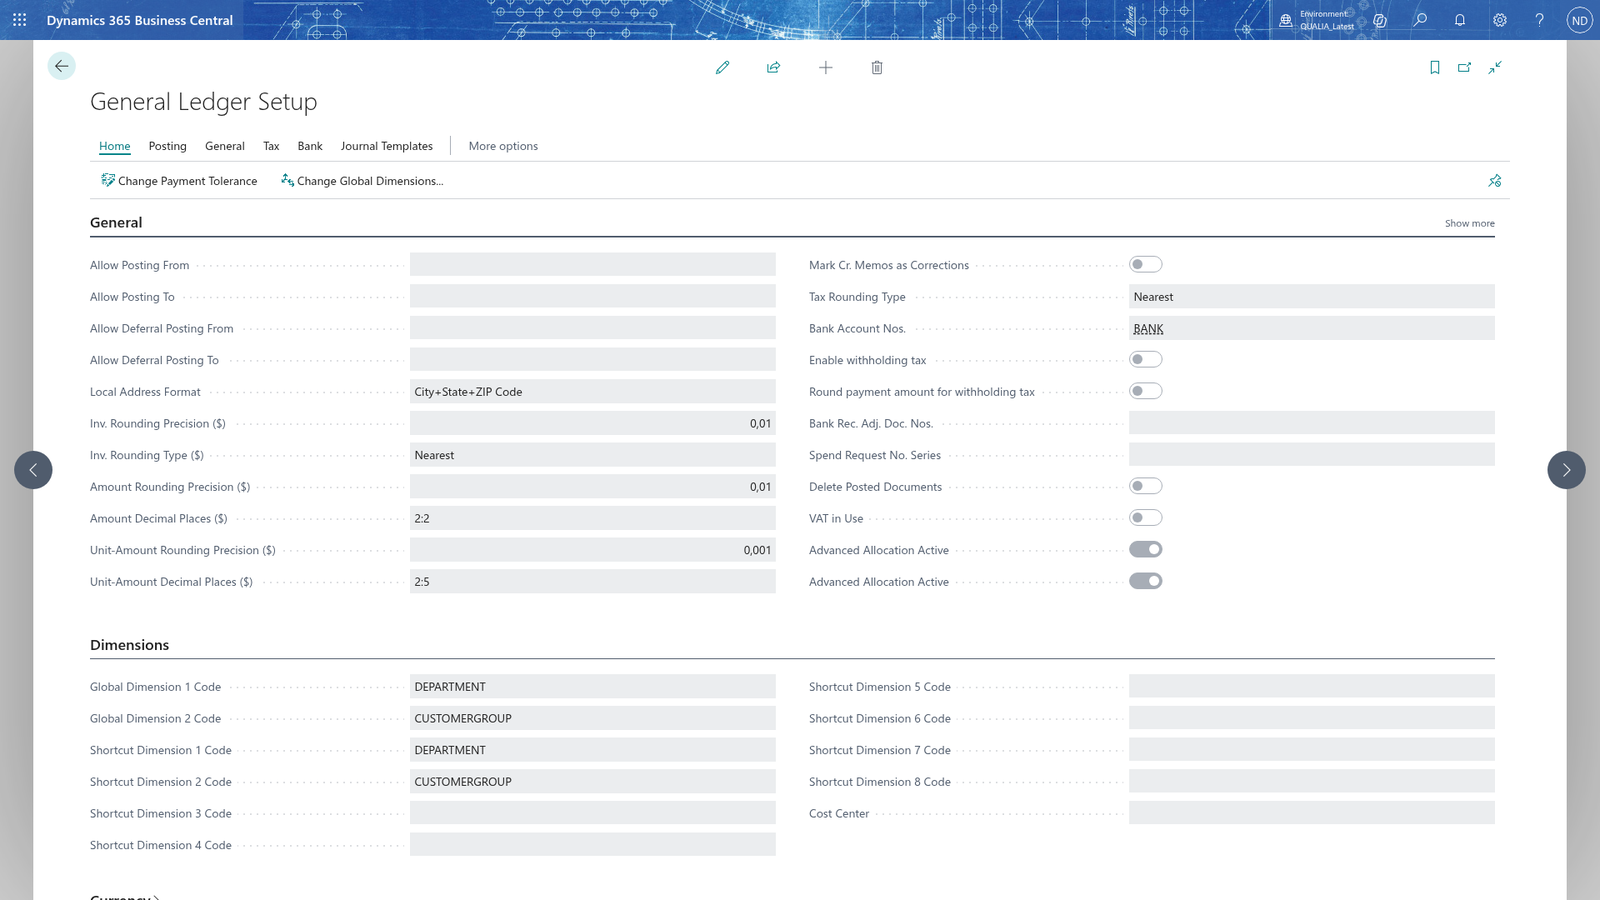
Note: This company-level switch turns the Advanced Allocations features on; set it once per company, before you run the worksheet.
Set up the allocation source on the General Journal batch
The source of an allocation is defined on the General Journal batch that carries the allocation lines, not on the worksheet; the controller Timo Schulz keeps the batches up to date.
- Search for General Journal Batches and open it.
- Open the card of the batch that will carry the lines. If it doesn't exist yet, choose New: enter template name
ADVALLOC(description Advanced Allocations) and batch nameFACILITY(description Facilities) on that template; Business Central shows the batch asADVALLOC/FACILITY. Repeat with batch nameSPACE(description Facility space) for the second batch. - In Source Type, choose where the amounts come from: G/L Account for posted G/L entries (the electricity example), Statistical for posted statistical entries such as headcount or floor space, or Allocation for a Quick Key template (see the note below).
- In Source No., enter the account the amounts are taken from, for example
6510(Electricity). - In Source Dimension 1 Code, choose the dimension the allocation is calculated by, for example
DEPARTMENT; each dimension value of the source becomes one line. - In Source Dimension 2 Code, choose the second dimension the allocation is calculated by, if you use one.
- In Source Fund and Source Fund 2, enter the fund values of the source, only if you allocate from fund entries.
- In Target G/L Account, enter the account the allocated amounts are booked to, for example
6800(Allocated Costs). - In Analysis View, enter the analysis view that defines the source amounts, if you read the source through one.
- Close the card.
Source No. accepts several source accounts separated by commas or semicolons and the app reads them all. Target G/L Account can hold several values too, but the lines are always booked to the first one, so enter just the one account you want there (for example 6800).
Note: Choose G/L Account or Statistical as the Source Type of a worksheet batch. A batch whose source is a Quick Key template (Source Type Allocation) does not yet work with Calculate Allocation on the worksheet: it stops with the message that the source is not filled in on the batch. Use a Quick Key template to split single lines instead, with Distribute Lines on purchase documents, sales documents and journals; see the Quick Key allocations chapter.
When you run Calculate Allocation on the worksheet, it reads the source through the dimension you set on the batch: each generated line carries that dimension's value.
Calculate and post the allocation lines
Monika Vogel shares the January electricity: account 6510 was posted with 24,000.00 EUR in January, already by DEPARTMENT: PROD 14,400.00, SALES 9,600.00, ADMIN 4,800.00 and IT 4,800.00. The batch ADVALLOC/FACILITY (Source Type G/L Account, Source No. 6510, Source Dimension 1 Code DEPARTMENT, Target G/L Account 6800) carries this source.
- Search for Advanced Allocations and open it.
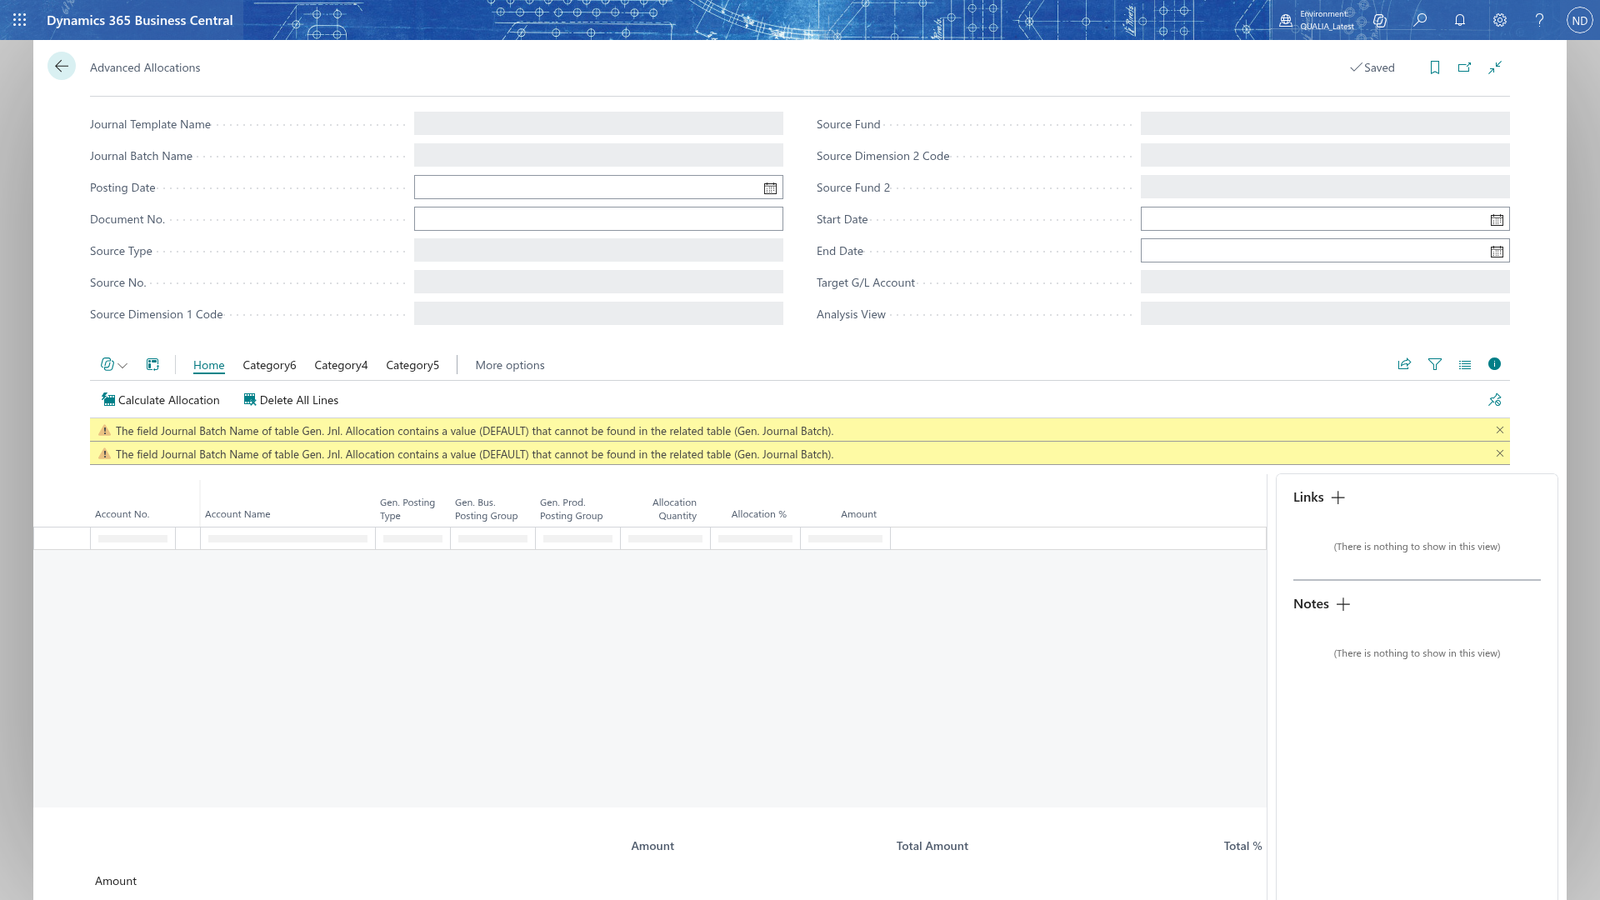
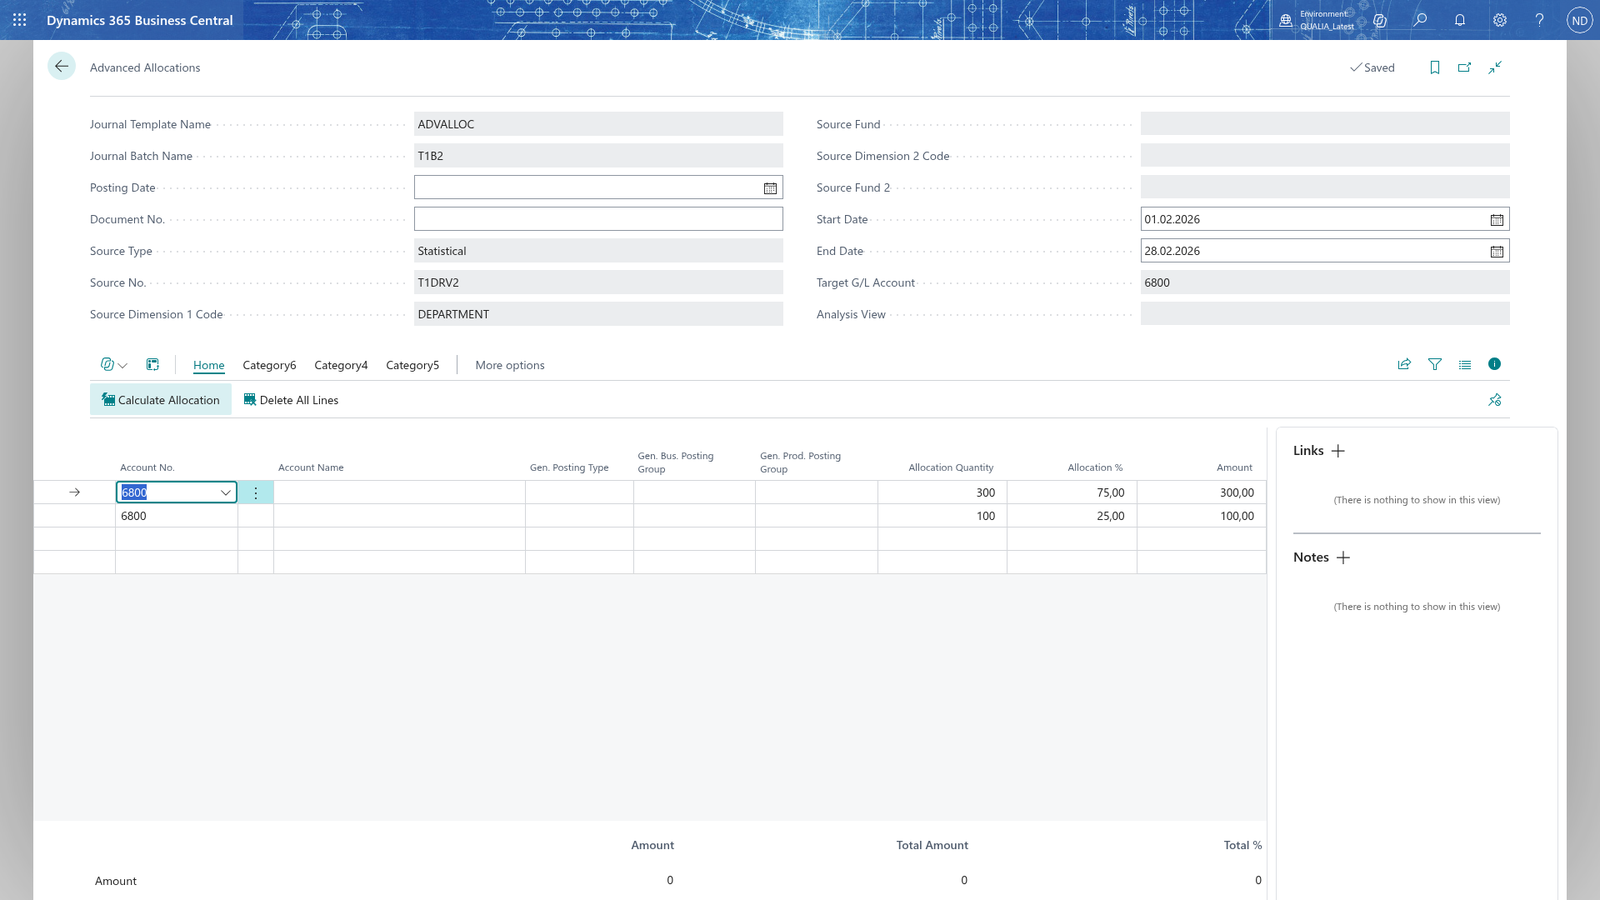
- The header shows the Journal Template Name and Journal Batch Name of the batch the worksheet works with; both are read-only and have no lookup. The worksheet opens on its batch (when you search for it and open it without a filter, on the first batch of the General Journal Batches list) and can't be pointed at another batch yet.
- In Posting Date, enter the posting date of the allocated lines, for example 31.01.2026.
- In Document No., enter a number for the allocated lines, for example JAN-ELEC-2026.
- In Start Date, enter the first day of the period the source amounts are read from: 01.01.2026.
- In End Date, enter the last day of that period: 31.01.2026.
- Choose Calculate Allocation.
- Review the lines. Each line shows Account No. and Account Name, Gen. Posting Type, Gen. Bus. Posting Group and Gen. Prod. Posting Group, Allocation Quantity, Allocation % and Amount.
- A line's dimension values (such as DEPARTMENT) are not shown in the line's columns on the worksheet: select the line and choose Dimensions to see or correct them.
- Optionally choose Preview Posting in the P&osting group to see the entries the posting will create, or Test Report to check the lines without posting; Test Report runs the same checks as the posting but posts nothing and shows no report window.
- Check that Total Allocation % shows 100 before you post.
- Choose Post. Post and Print posts the same way; it does not print a report.
Calculate Allocation reads the source amount per dimension value and creates one line per value on the target account. The Amount of a line is the source amount of its dimension value, its Allocation % is that amount's share of the source total, and Total Allocation % of all lines reaches 100.
Note: Each line's Allocation Quantity is the source amount of its dimension value as well. Calculate Allocation replaces the lines, so you can run it again directly with a corrected source or period; Delete All Lines only clears the worksheet. After posting, the posted entries are corrected in standard Business Central, not on the worksheet.
Note: The worksheet runs the batch it was opened with: Journal Template Name and Journal Batch Name are read-only and have no lookup, so it works with one batch at a time; a second allocation batch (for example one for the rent) can't be run from the worksheet until the app offers a way to choose the batch.
Example: The January electricity close at QUALIA Technik GmbH
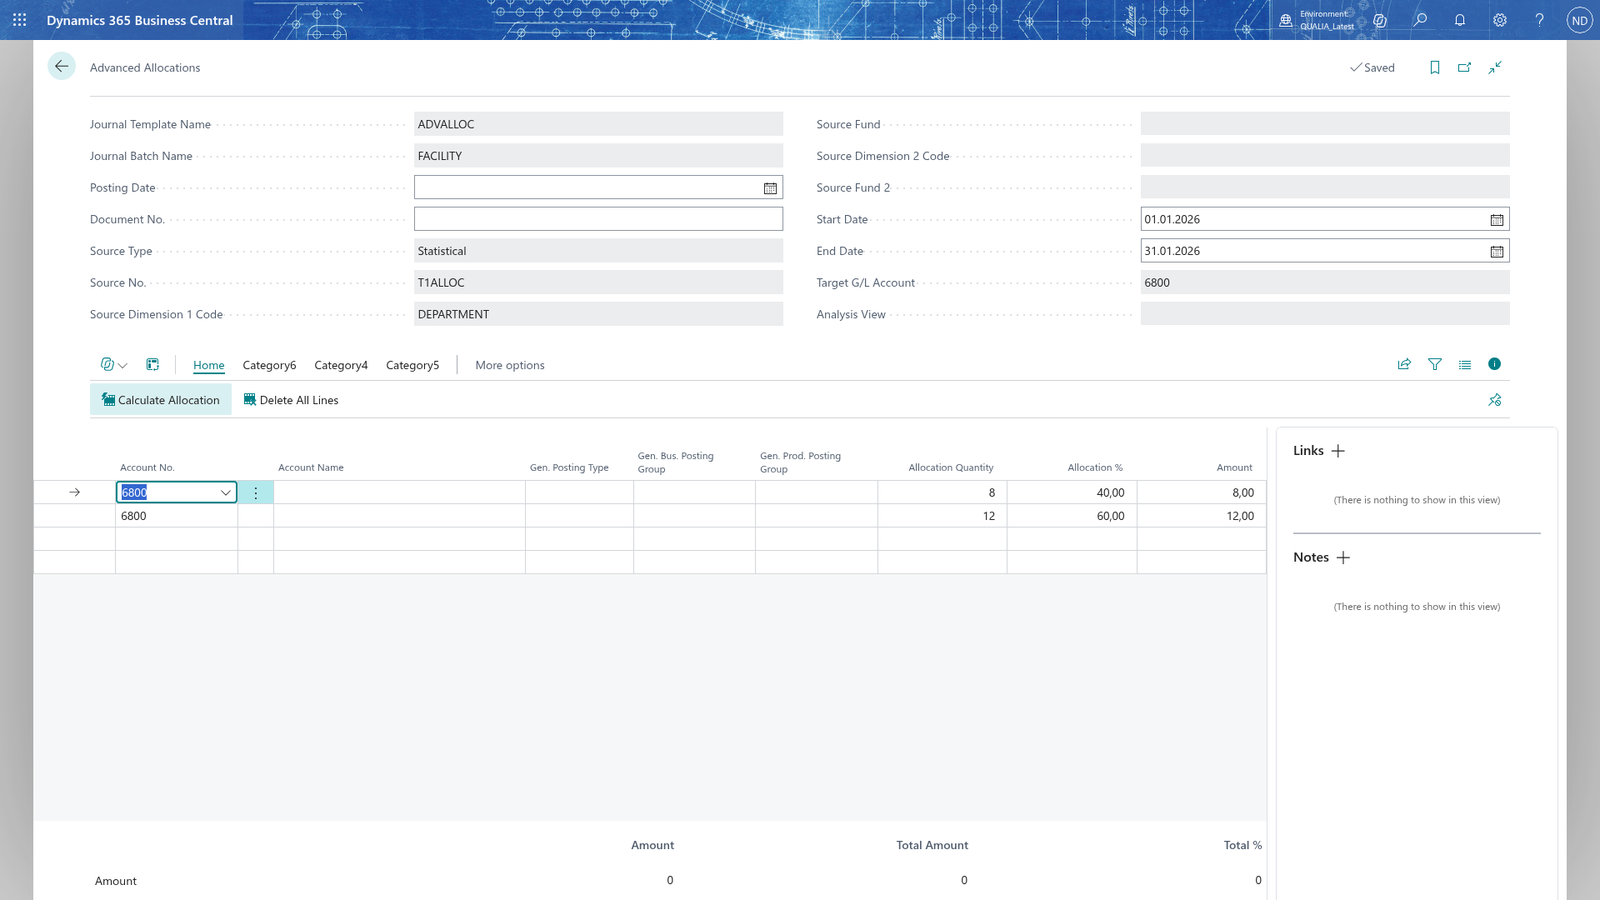
In January 2026 the electricity invoices from Stadtwerke München (vendor STW) were posted to G/L account 6510: 24,000.00 EUR with DEPARTMENT PROD 14,400.00, SALES 9,600.00, ADMIN 4,800.00 and IT 4,800.00. Monika Vogel opens Advanced Allocations; it works with batch ADVALLOC/FACILITY, the first batch of the list, and runs the allocation:
- She enters Posting Date 31.01.2026 and Document No. JAN-ELEC-2026.
- She enters Start Date 01.01.2026 and End Date 31.01.2026 - January only.
- She chooses Calculate Allocation.
- The worksheet shows four lines on account
6800. The share of each department is its source amount divided by the source total: 14,400.00 / 24,000.00 = 60 %, 9,600.00 / 24,000.00 = 40 %, and 4,800.00 / 24,000.00 = 20 % for each of the last two lines.
| Account No. | DEPARTMENT | Allocation % | Amount |
|---|---|---|---|
| 6800 | PROD | 60 | 14,400.00 |
| 6800 | SALES | 40 | 9,600.00 |
| 6800 | ADMIN | 20 | 4,800.00 |
| 6800 | IT | 20 | 4,800.00 |
| Total | 100.00 | 24,000.00 |
Each line's DEPARTMENT value is on its dimensions, not in the line's columns: select the line and choose Dimensions to see it.
- She checks that Total Allocation % shows 100 and chooses Post.
- The facility rent (account
6520, 12,000.00 EUR) is next on her list: she sets up a second batch on templateADVALLOCthe same way, with Source No.6520. The worksheet runs only its own batch, so she runs the rent once a way to choose the batch is available. - Iris Baumann reviews the department costs on
6800after the close.
What happens
- The allocation lines are created in the General Journal batch and posted as an ordinary General Journal batch; they are ordinary General Journal lines that the app marks as advanced allocations.
- Before you post, review the lines on the Advanced Allocations worksheet, not in the journal: the app creates the journal lines when you choose Post, and until then the batch's journal holds only a carrier line without an amount. Choose Recurring General Journal on the worksheet; it opens the Recurring General Journal page, where you choose the template
ADVALLOCand the batch. - After posting you find the amounts in G/L Entries on the target account
6800; filter by DEPARTMENT to see the four departments (14,400.00 PROD, 9,600.00 SALES, 4,800.00 ADMIN, 4,800.00 IT for January). - The sum of the lines equals the source amount, so nothing is lost between source and target.
- Delete All Lines only clears the worksheet; Calculate Allocation replaces the lines, so you can run it again directly. After you posted, correct the posted journal in standard Business Central (G/L Entries, correct or reverse the entries).
If something goes wrong
- Fill in the source on journal batch <batch> of template <template>. Set the source type, a source number and a target G/L account.: the batch's source is incomplete. Fill in Source Type, Source No. and Target G/L Account on the batch in General Journal Batches, then choose Calculate Allocation again.
- No source data was found for journal batch <batch> of template <template> in <start> to <end>.: the source has no entries in the period you entered. Check Start Date and End Date on the worksheet and Source No. on the batch; for a Statistical source, check in the Statistical Journal that the period's entries were posted.
- <value> is not a valid dimension value for dimension <dimension>.: a source entry carries a dimension value that doesn't exist on that dimension. Correct the dimension value on the source entries (the G/L entries or the statistical journal) and run Calculate Allocation again.
- General journal batch <name> was not found. Enter a valid batch name.: the batch the worksheet works with no longer exists. Close the worksheet and open it again.
- Specify a journal batch name before you run this action.: the worksheet has no batch yet. Close it and open it again.
- The General Journal batch <batch> could not be posted.: the posting was refused; fix the error Business Central reports (for example an account that can't be posted to) and choose Post again.